Intel vs AMD Naming of Processors
The Image below shows All Parts in the Name of Intel vs AMD Processors:

Just another WordPress site
===========
===========
STEP 1:
Before you startup:
If your Unsupported PC, can boot from USB then you can go here for using Rufus utility to create more simply & easy USB bootable bypass restrictions by Microsoft:
https://www.youtube.com/results?search_query=rufus+windows+11+usb+unsupported
Using Rufus software for this ready out of the box: https://rufus.ie/en/
Otherwise continue reading/watching this… for how I have created a bypass restrictions installation DVD of Windows 11, for my very old BIOS Windows 10 Home PC that can only boot from DVD…! My PC details:
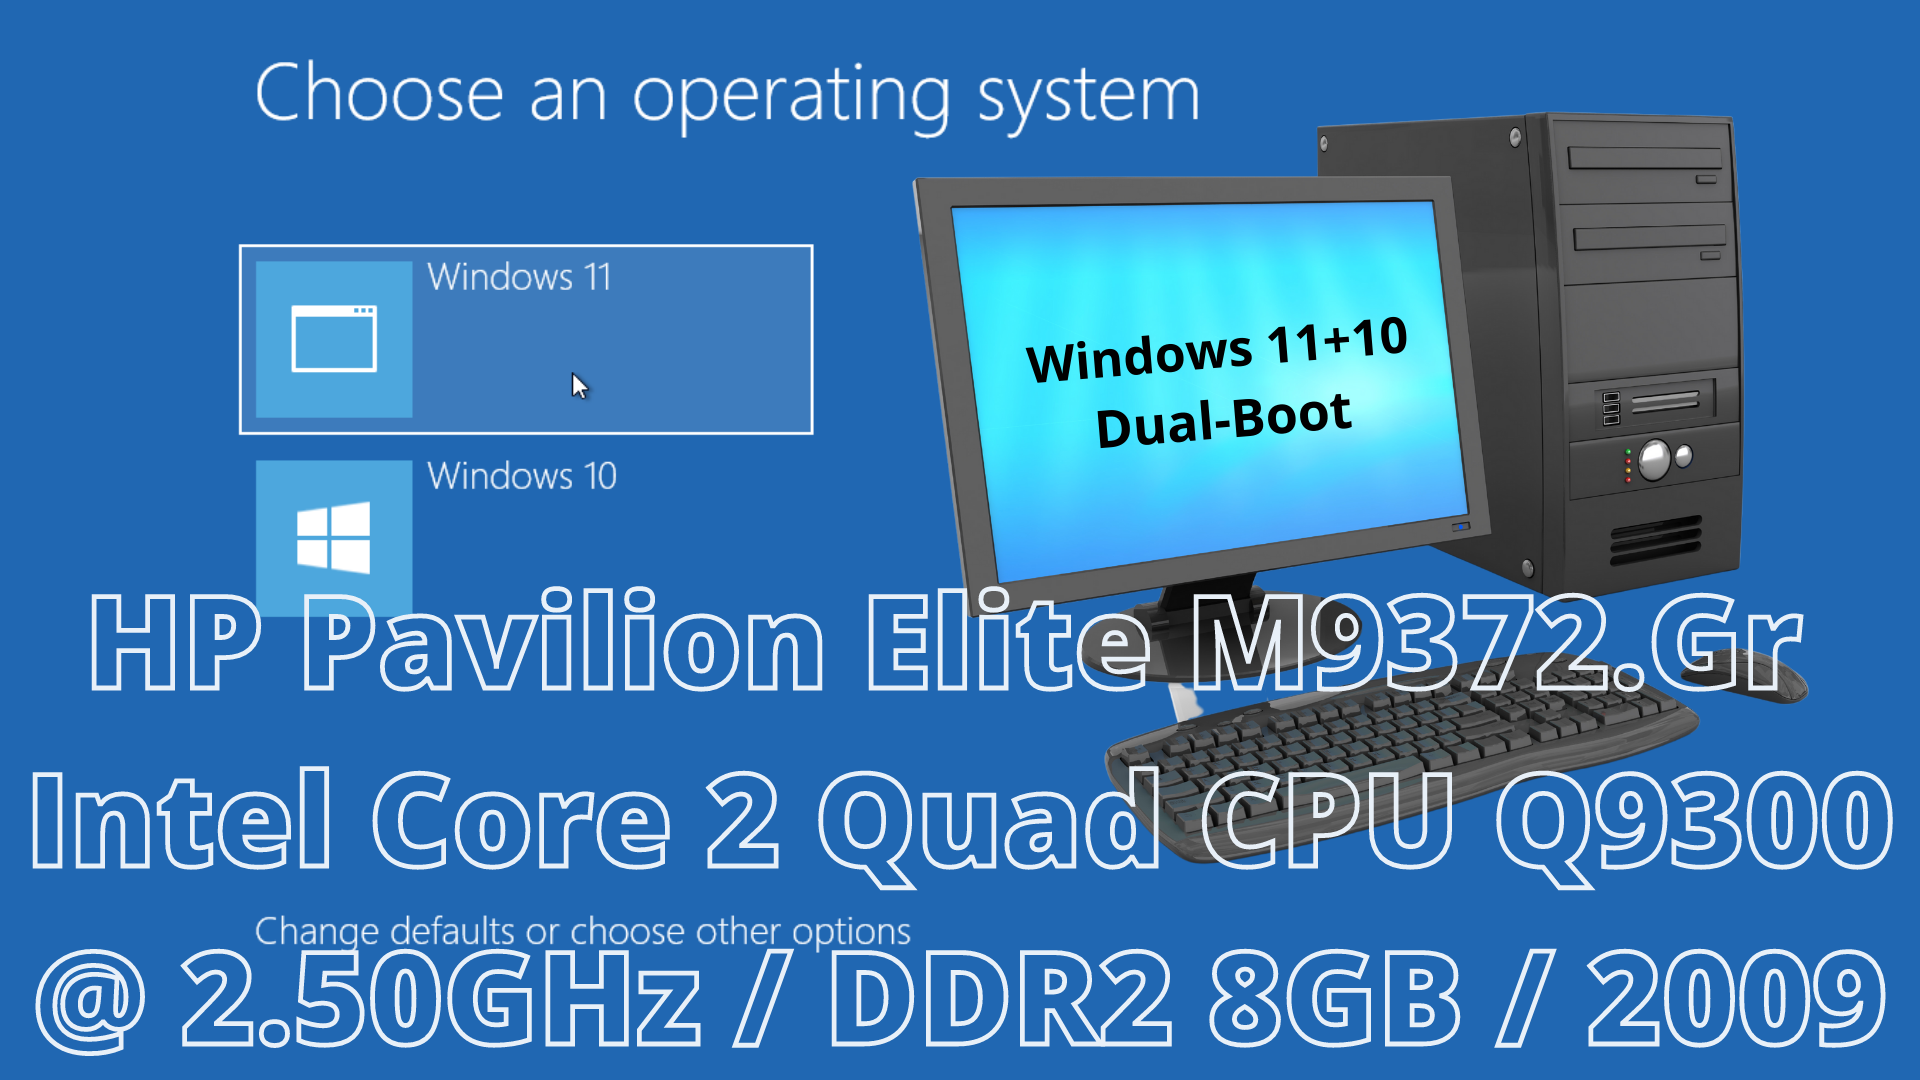
Product: HP Pavilion Elite M9372.Gr Desktop PC 2008-2009 year
Operating System: Microsoft Windows 10 (64-Bit) Home
PC is Intel Core 2 Quad / RAM 8GB DDR2 / DVD DRIVE / Graphics NVIDIA GeForce GT 730 2GB
For Windows 11 requirements go here:
https://docs.microsoft.com/en-us/windows/whats-new/windows-11-requirements
We bypass Microsoft Hardware Restrictions like:
But we are inside the limits for some other Restrictions like PC Hardware of 64-bit, 64GB HDD or SSD minimum… and 4GB RAM minimum… and,
Windows 11 Home edition requires an Internet connection and a Microsoft Account to complete device setup on first use.
===========
STEP 2:
Prerequisite Software & ISOs Needed — ALL FREE:
2A – from Microsoft
Two ISO Files SAME DATE DOWNLOAD: // from Microsoft Windows Media Creators Tool
// I THINK THESE CHANGE TWICE A YEAR IN EVERY NEW BIG Windows UPDATE WHICH IS [Months: MAY + OCTOBER / YEAR]
Downloaded same date – same version
2B
Software: https://www.imgburn.com/index.php?act=download
I USED THIS DOWNLOAD Mirror:
https://www.softpedia.com/get/CD-DVD-Tools/Data-CD-DVD-Burning/ImgBurn.shtml
2C
For THIS DVD DISK BOOTABLE CREATING PROCESS I used:
An HP Z440 Workstation PC with Windows 10 Pro OS, with DVD 📀 R / R DL Recorder/burner drive, any PC with Windows 10 is OK 🖥
2D
PLEASE skip this Step if you have already installed any burning Software.
DVD WRITER/BURNER Software ISO IMAGE FILES To DVD DISK — Free SOFTWARE:
https://www.ashampoo.com/en-us/free-downloads?category=31&os=21&language=2&type=free
https://www.ashampoo.com/en-us/burning-studio-free
This may also be done with ImgBurn, but I am familiar with Ashampoo software.
2E
Please install 7-zip software from
https://www.7-zip.org/download.html
NOTE: ANY Modern Windows 10/11 Pro/Home OS is OK to follow creating by-pass-restrictions installation DVD ISO => and burn this ISO to DVD
===Notes===
Dual-Boot system Will take place in a VERY OLD PC OF the 2008 – 2009 year:
Product: HP Pavilion Elite M9372.Gr Desktop PC 2008-2009
Operating System: Microsoft Windows 10 (64-Bit) Home
PC is Intel Core 2 Quad 64-bit / RAM 8GB DDR2 / DVD DRIVE / Graphics NVIDIA GeForce GT 730 2GB
=====
This does not support boot from USB but only boot from DVD… Has Windows 10 Home, and the end result will be a Dual Boot PC:
Windows 10 Home/Windows 11 Home, TEMPORARY UPDATES SUPPORTED IN BOTH OSs Not sure if Microsoft continues to support this…!
Even this is an ancient machine, without TPM Or WITHOUT supported Processor or WITHOUT support Secure Boot, And WITH Only BIOS and Not UEFI…
This WAS A SUCCESS installation from a WINDOWS 11 ISO DVD – AND DUAL-BOOT INSTALLATION PC SYSTEM END RESULT
===========
STEP 3:
Please install 7-Zip, ImgBurn, and Ashampoo software.
Skip this if you already have these or equivalent.
===========
STEP 4:
Download NORMAL ISOs
Create Windows 10 Installation Media
https://www.microsoft.com/en-us/software-download/windows10
Create Windows 11 Installation Media
https://www.microsoft.com/en-us/software-download/windows11
===========
STEP 5:
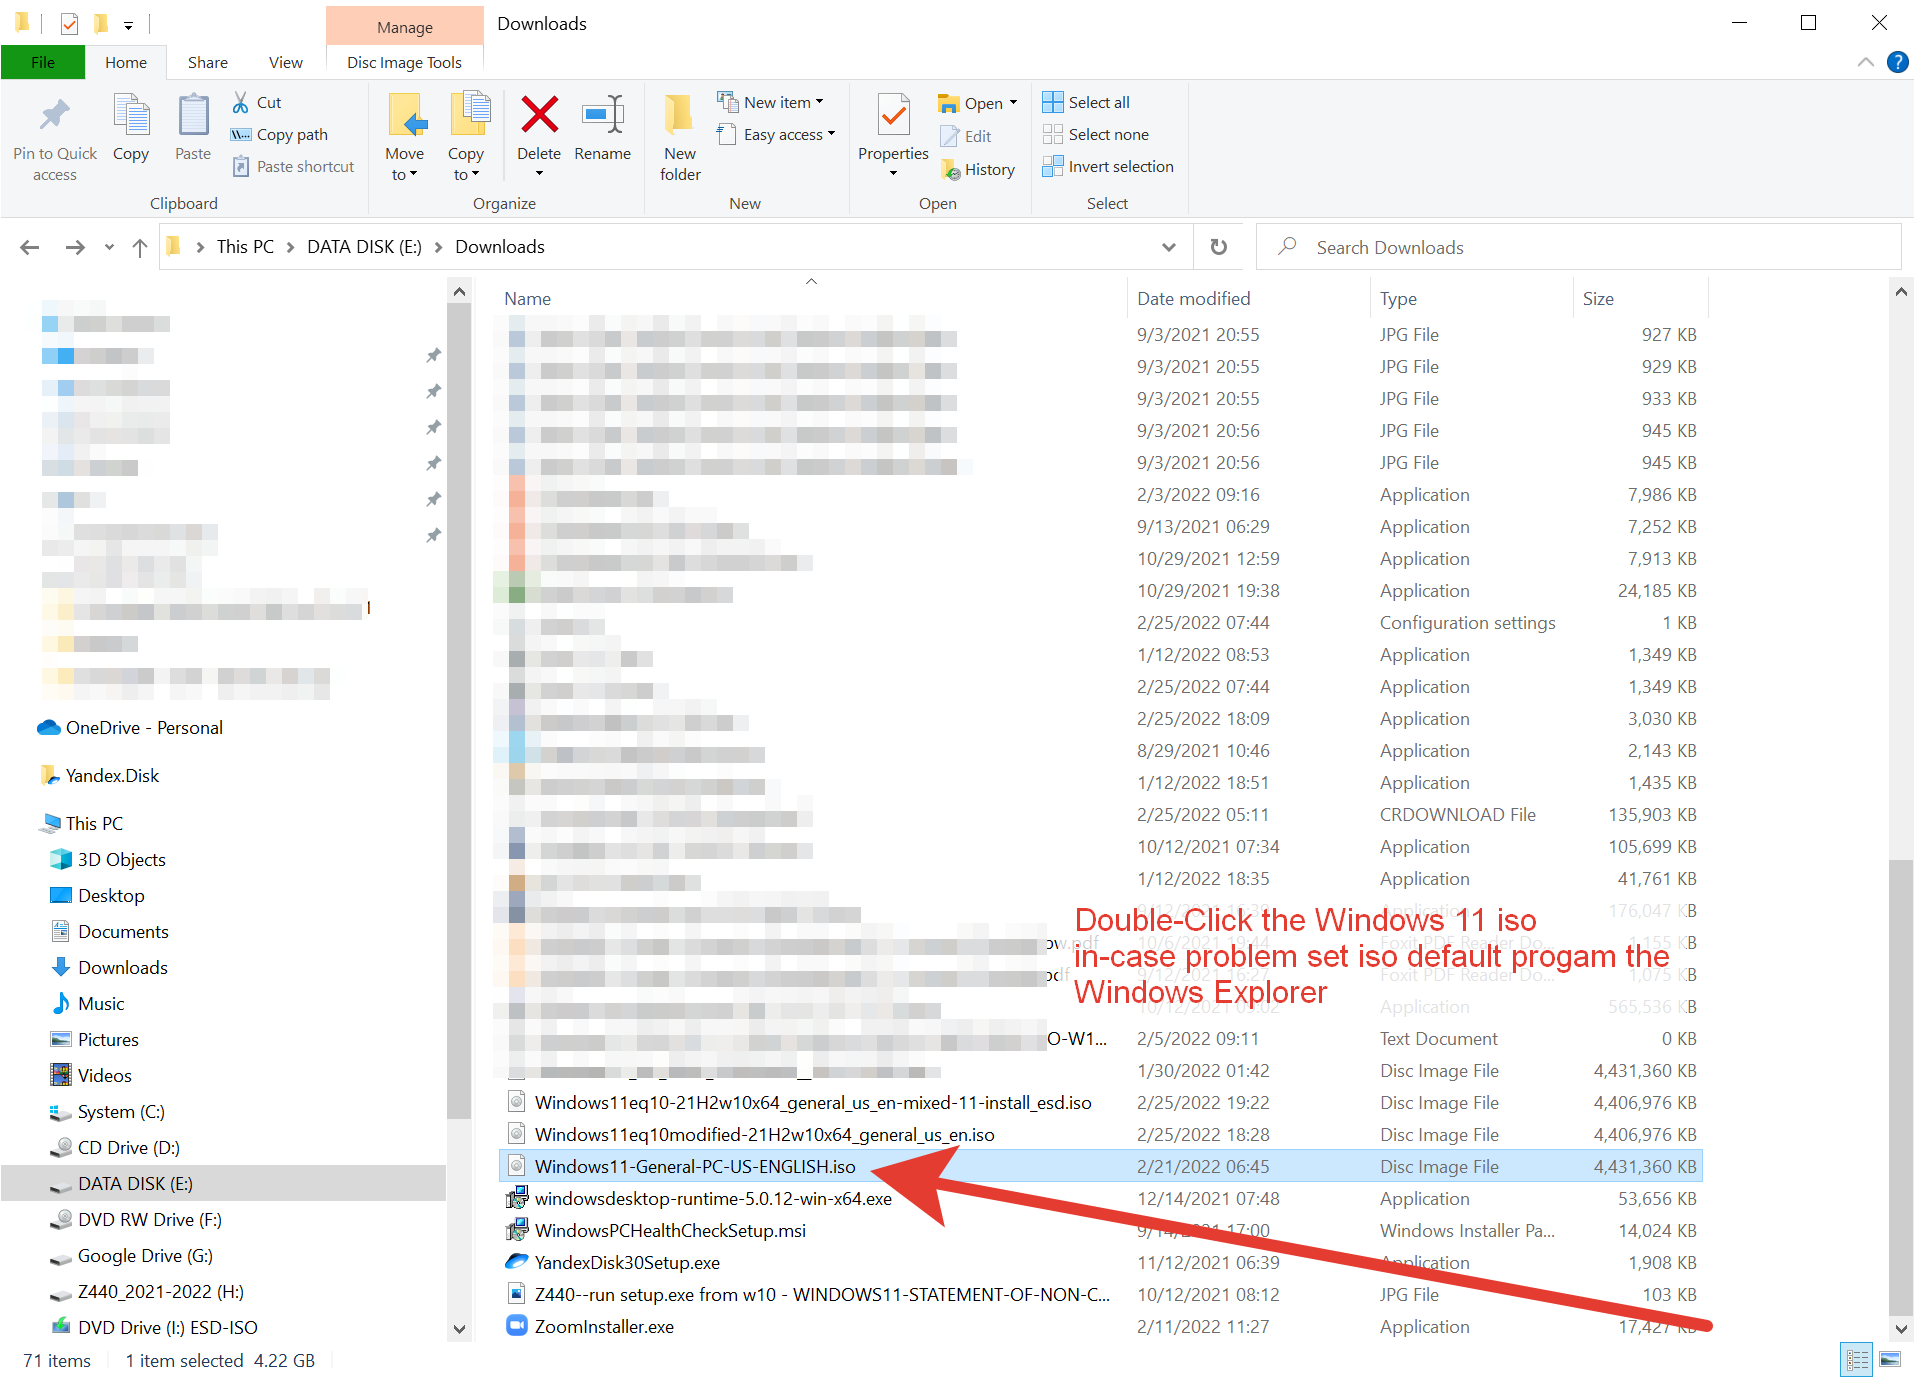
You need to mount Windows 11 ISO first. On Windows 8, 8.1, or 10, you can Right-Click the file and select Mount, If Not work — Double click Windows11.iso in Windows Explorer.
Take a Note of the Mounted Drive Letter
E.g., I:/
In case you have problems, mount iso, set open *.iso files DEFAULT App the Windows Explorer, and after Double-Click the iso.
===========
STEP 6:
Using 7-zip EXTRACT THE:
Windows 10 64-bit.iso
To a folder e.g., E:\Downloads\Windows10-21H2w10x64_general_us_en-mixed-11-install.esd\
This may be in a USB STICK or in an External or Internal HDD formatted as NTFS
===========
STEP 7:
Now go to I:/sources/ folder – from Step 5 – mounted drive Windows 11 ISO and COPY sources/install.esd file
Then go to:
E:\Downloads\Windows10-21H2w10x64_general_us_en-mixed-11-install.esd\sources\ , delete the file named install.esd and paste the install.esd file from Windows 11 mounted drive/sources directory you just copied.
===========
STEP 8 (ImgBurn program):
Launch/open ImgBurn program and click Create Image file from files/folders:


Click the Advanced Tab.

Click the Bootable Disk Tab.

Check the Make Image Bootable checkbox.


At ‘Extract Boot Image’ options, select the DVD DRIVE letter of the mounted Windows 11 ISO image file in Step 5, I:/.

In case you have problems, mount iso, set open *.iso files DEFAULT App the Windows Explorer, and Double-Click the iso… to create the mounted drive.


Then click the Save icon – Next to Extract Boot mage.
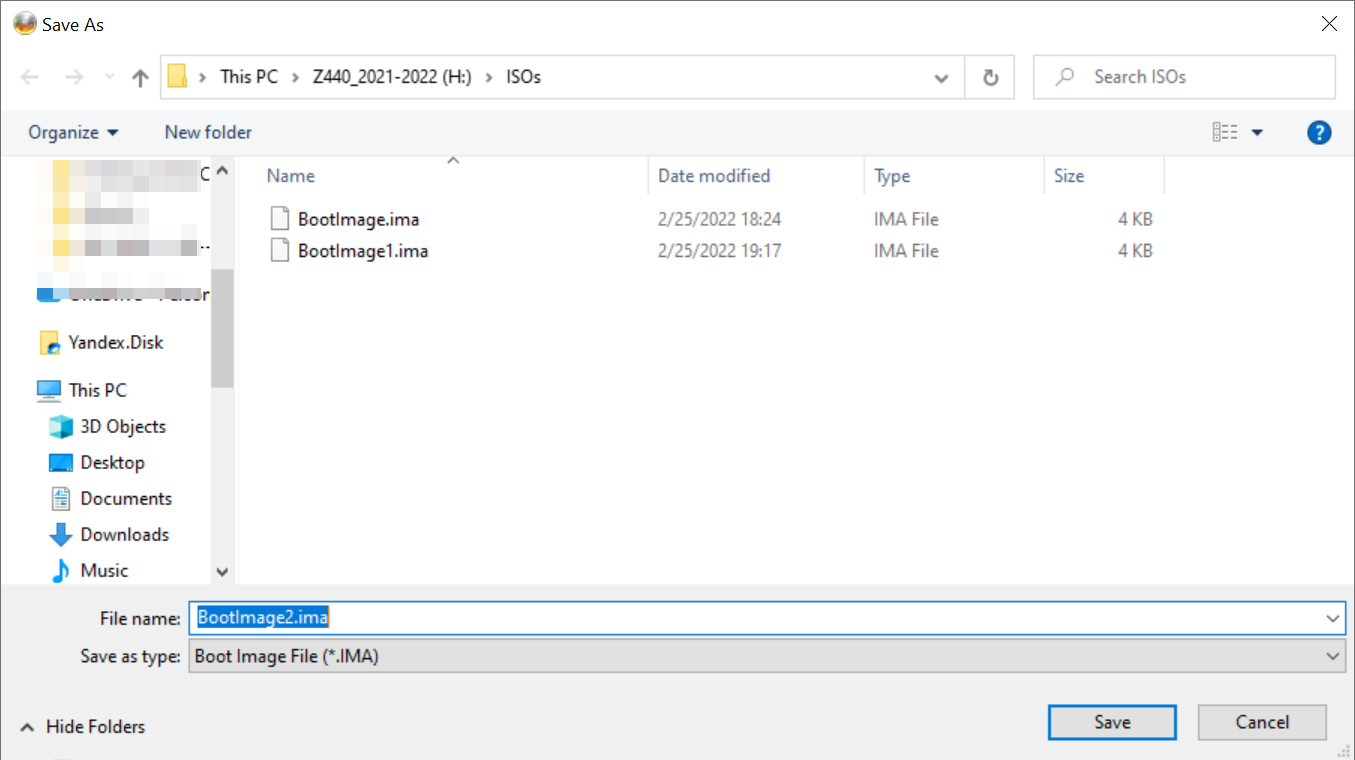
Save the “BootImage2.ima” file to your disk.

Select Yes when asked to use the boot image file in your current project.

Click the Browse for folder icon.
Then select the ISO extracted (modified – /sources/install.esd) folder from Step 7 –
E:\Downloads\Windows10-21H2w10x64_general_us_en-mixed-11-install.esd\
and click Select Folder.

Click the Destination (Browse for file) icon.

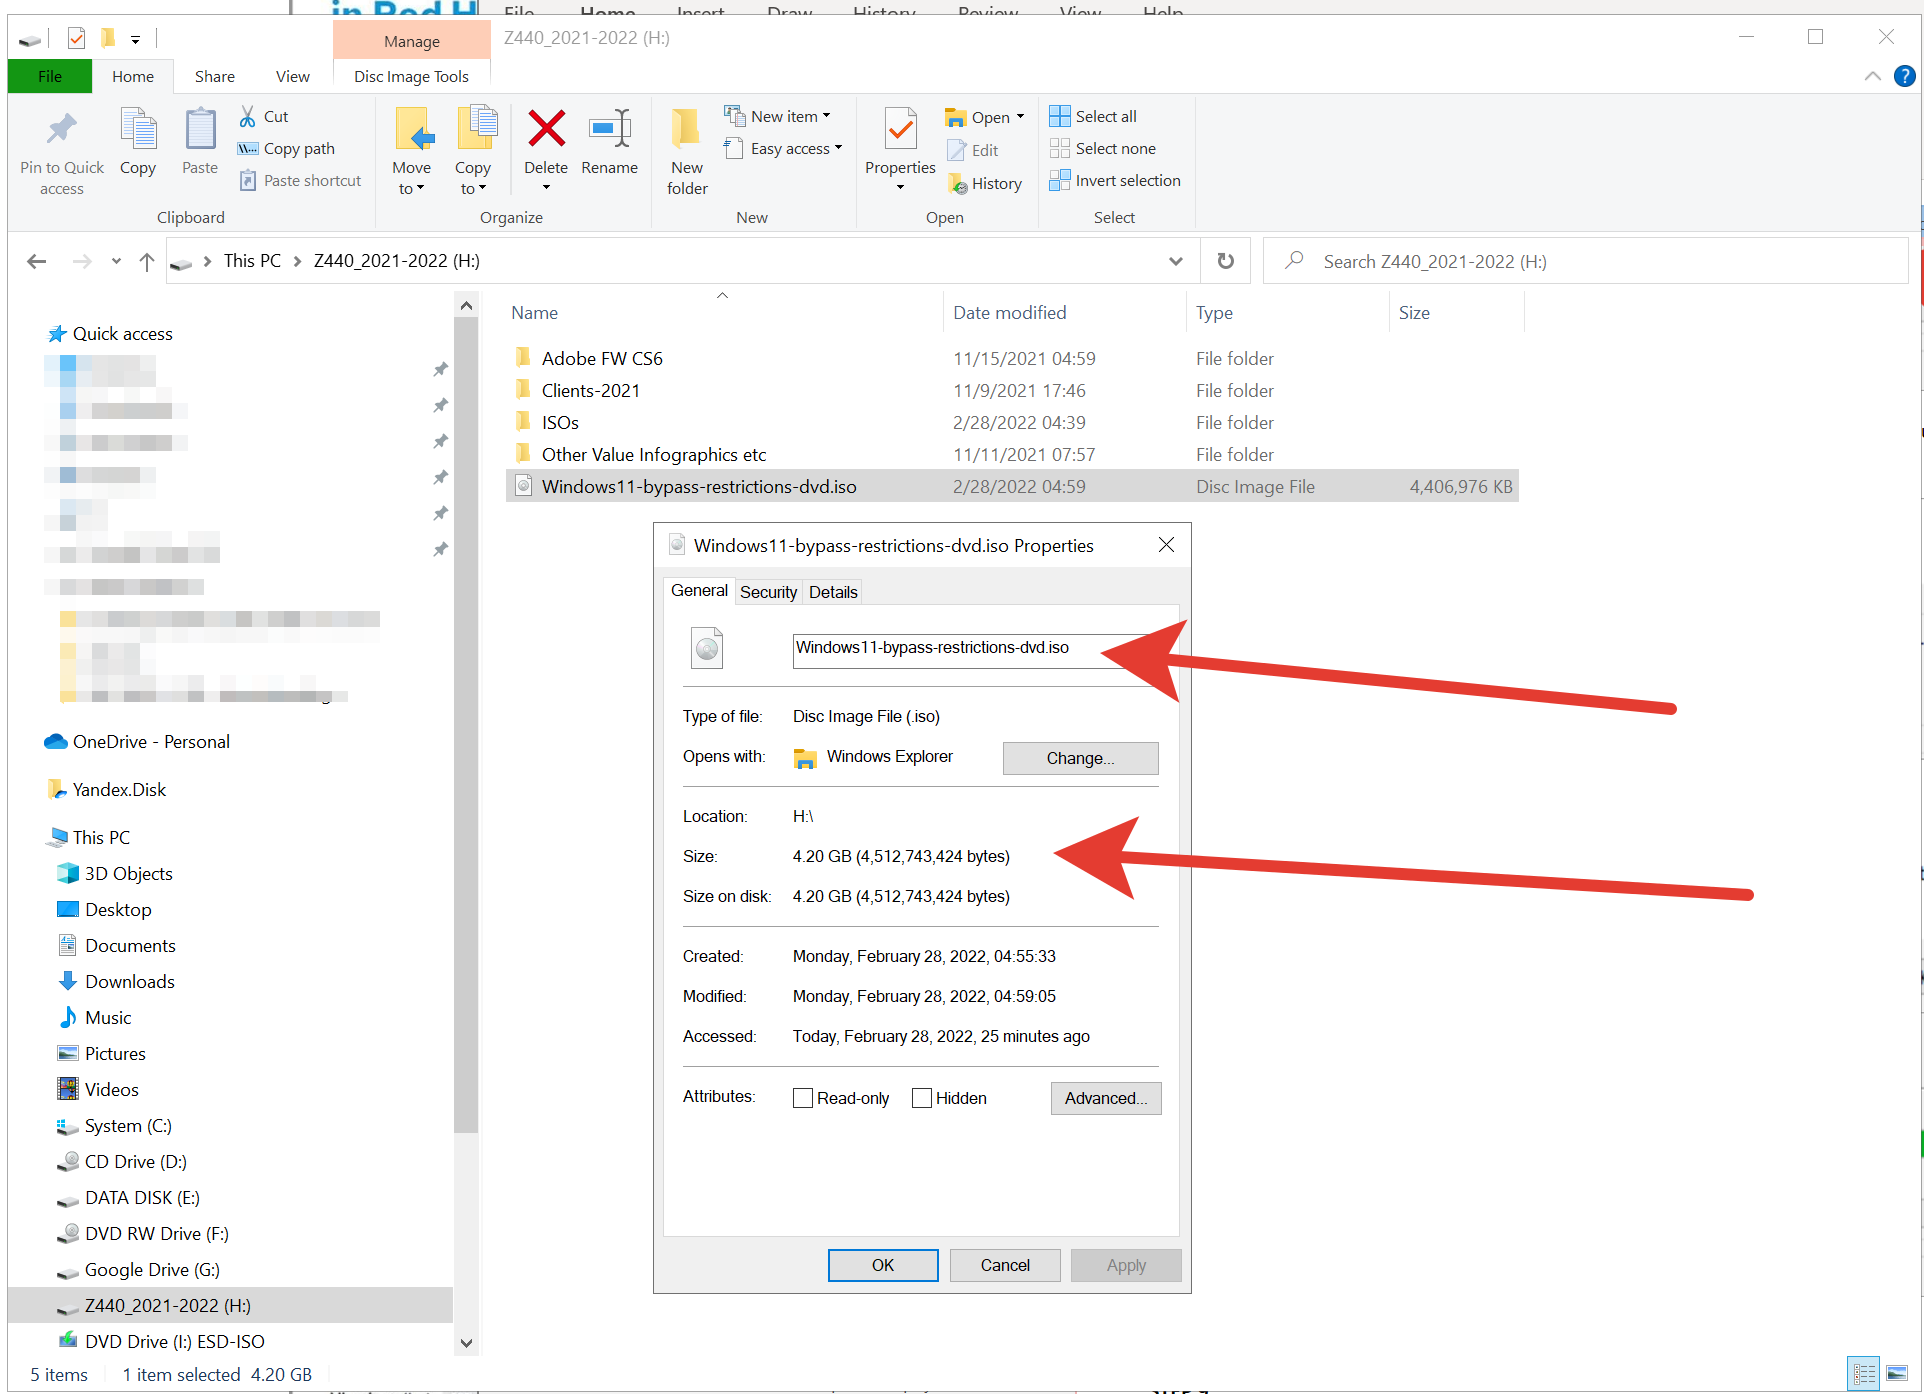
Type a name for the new ISO (modified) image file and click Save. This will be the by-pass restrictions version of Window 11 iso file and can be named H:\Windows11-bypass-restrictions-DVD.iso… to be burned in a DVD for installing Windows 11 as dual boot – to very old PCs.

Click the Build button.

Choose Yes when asked to adjust the file system of the image to UDF. In case you got the:

Choose Yes when asked… to add just the files/folders to the ISO image, and do Not add the container folder:

For Label of iso image click Yes.

Then, click OK at the information window.

Please wait 3-10 minutes and the iso of Windows 11 image that bypasses Microsoft Hardware Restrictions should be ready… and you can burn it to a DVD.

===========
STEP 9:
When the operation is completed, you can burn the newly created ISO image – about 4.20GB size… H:\Windows11-bypass-restrictions-DVD.iso file, to a DVD R/RW or DVD R DL. I did so with the Ashampoo Burning Software Free version and an empty DVD disk.
===========
STEP 10:
I followed this process and SUCCESSFULLY created an ISO => Created DVD from this => and installed Windows 11 to my very old BIOS PC from the 2008-2009 year that’s ONLY ABLE TO BOOT FROM DVD !!!!
Note:
Windows 11 updates working, but I do Not know if continue like that or Microsoft Terminates Updates for unsupported PC hardware.
====
====
02/28/2022 00:29
Using HTML5, JS/jQuery/Ajax, CSS3, Bootstrap, PHP
Documentation here:
https://developers.google.com/recaptcha/docs/display
Practiced here: http://www.followthesun.com.cy/contactus.php
To-Do the same here in this Article Web Log/Video Log:
http://www.latchiquads.com/contactus.html
http://www.polistaxi.com/contacts.php
http://www.poliscyprusquads.com/contactus.html
Notes:
in the webpage HTML5/CSS3/JS/JQUERY code.
http://www.latchiquads.com/contactus.html
<script type="text/javascript">

  var reC = "";

  var verifyCallback = function(response) {
        //console.log(response);
        //reC = response;
        $("#g-recaptcha-response").val(response);
      };
  var onloadCallback = function() {
    grecaptcha.render('html_element', {
      'sitekey' : 'site key',
            'callback' : verifyCallback
    });
  };
</script>
<div class="form-group">
<label class="control-label col-md-3" for="comment"> </label>
<div class="col-md-9">
<div id="html_element"></div>
</div>
</div>
in case of JS Conflicts --- try a different position of <script src="php/webformsPHPajax2017.js?2021"></script>
<script src="https://www.google.com/recaptcha/api.js?onload=onloadCallback&render=explicit" async defer></script>
</body> D:\htdocs_xampp\Latchiquads.com\php\webformsPHPajax2017.js
$(document).ready(function() {
var url = "php/contactus.php";
$('#send1').click(function(e){
e.preventDefault();
e.stopPropagation();
//alert("send1");
$.ajax({url: url, type: 'POST',
data:
{
name: escapeHTML($('#name').val()),
email: escapeHTML($('#email').val()),
phone: escapeHTML($('#phone').val()),
comments: escapeHTML($('#comment').val()),
token: escapeHTML($("#g-recaptcha-response").val())
},
error: function() {
$("#alertMsg").html('<div class="alert alert-danger"><a href="#" class="close" data-dismiss="alert" aria-label="close">×</a><strong>Error!</strong> Something went wrong, check your email and retry!</div>');
},
success: function(response){
console.log(response);
if (response=="true")
$("#alertMsg").html('<div class="alert alert-success"><a href="#" class="close" data-dismiss="alert" aria-label="close">×</a><strong>Success!</strong> We will reply ASAP!! See your email box for confirmation!</div>');
else
$("#alertMsg").html('<div class="alert alert-danger"><a href="#" class="close" data-dismiss="alert" aria-label="close">×</a><strong>Error!</strong> Something went wrong, check your email and retry!</div>');
}
});
return false;
});D:\htdocs_xampp\Latchiquads.com\php\contactus.php
$token = $_POST[“token”];
function httpPost($token)
{
$data = array(
    "secret" => "secret key",
    "response" => $token
);
foreach($data as $key=>$value) { $fields_string .= $key.'='.$value.'&'; }
rtrim($fields_string, '&');

$data_string = json_encode($data);
$ch = curl_init('https://www.google.com/recaptcha/api/siteverify');
curl_setopt($ch, CURLOPT_CUSTOMREQUEST, "POST");
curl_setopt($ch, CURLOPT_POSTFIELDS, $fields_string);
curl_setopt($ch, CURLOPT_RETURNTRANSFER, true);

$result = json_decode(curl_exec($ch));

return $result->success;
}
function quickContactProcess($name,$email,$phone,$comments, $token) {
$captchaOK = httpPost($token);
if ($response == “false” || $captchaOK != 1) {
//die (“The reCAPTCHA wasn’t clicked. Go Back and try it again.”);
$response = “false”;
} else {
$response = “true”;
}
quickContactProcess($name,$email,$phone,$comments, $token);
?>
soon!
soon!
soon!