The basic idea of FREE ISO is:
“Use a free non-trusted macOS Sonoma VM in a Hypervisor like VMware Workstation Pro to create from it a macOS Sonoma ISO (Trusted)”
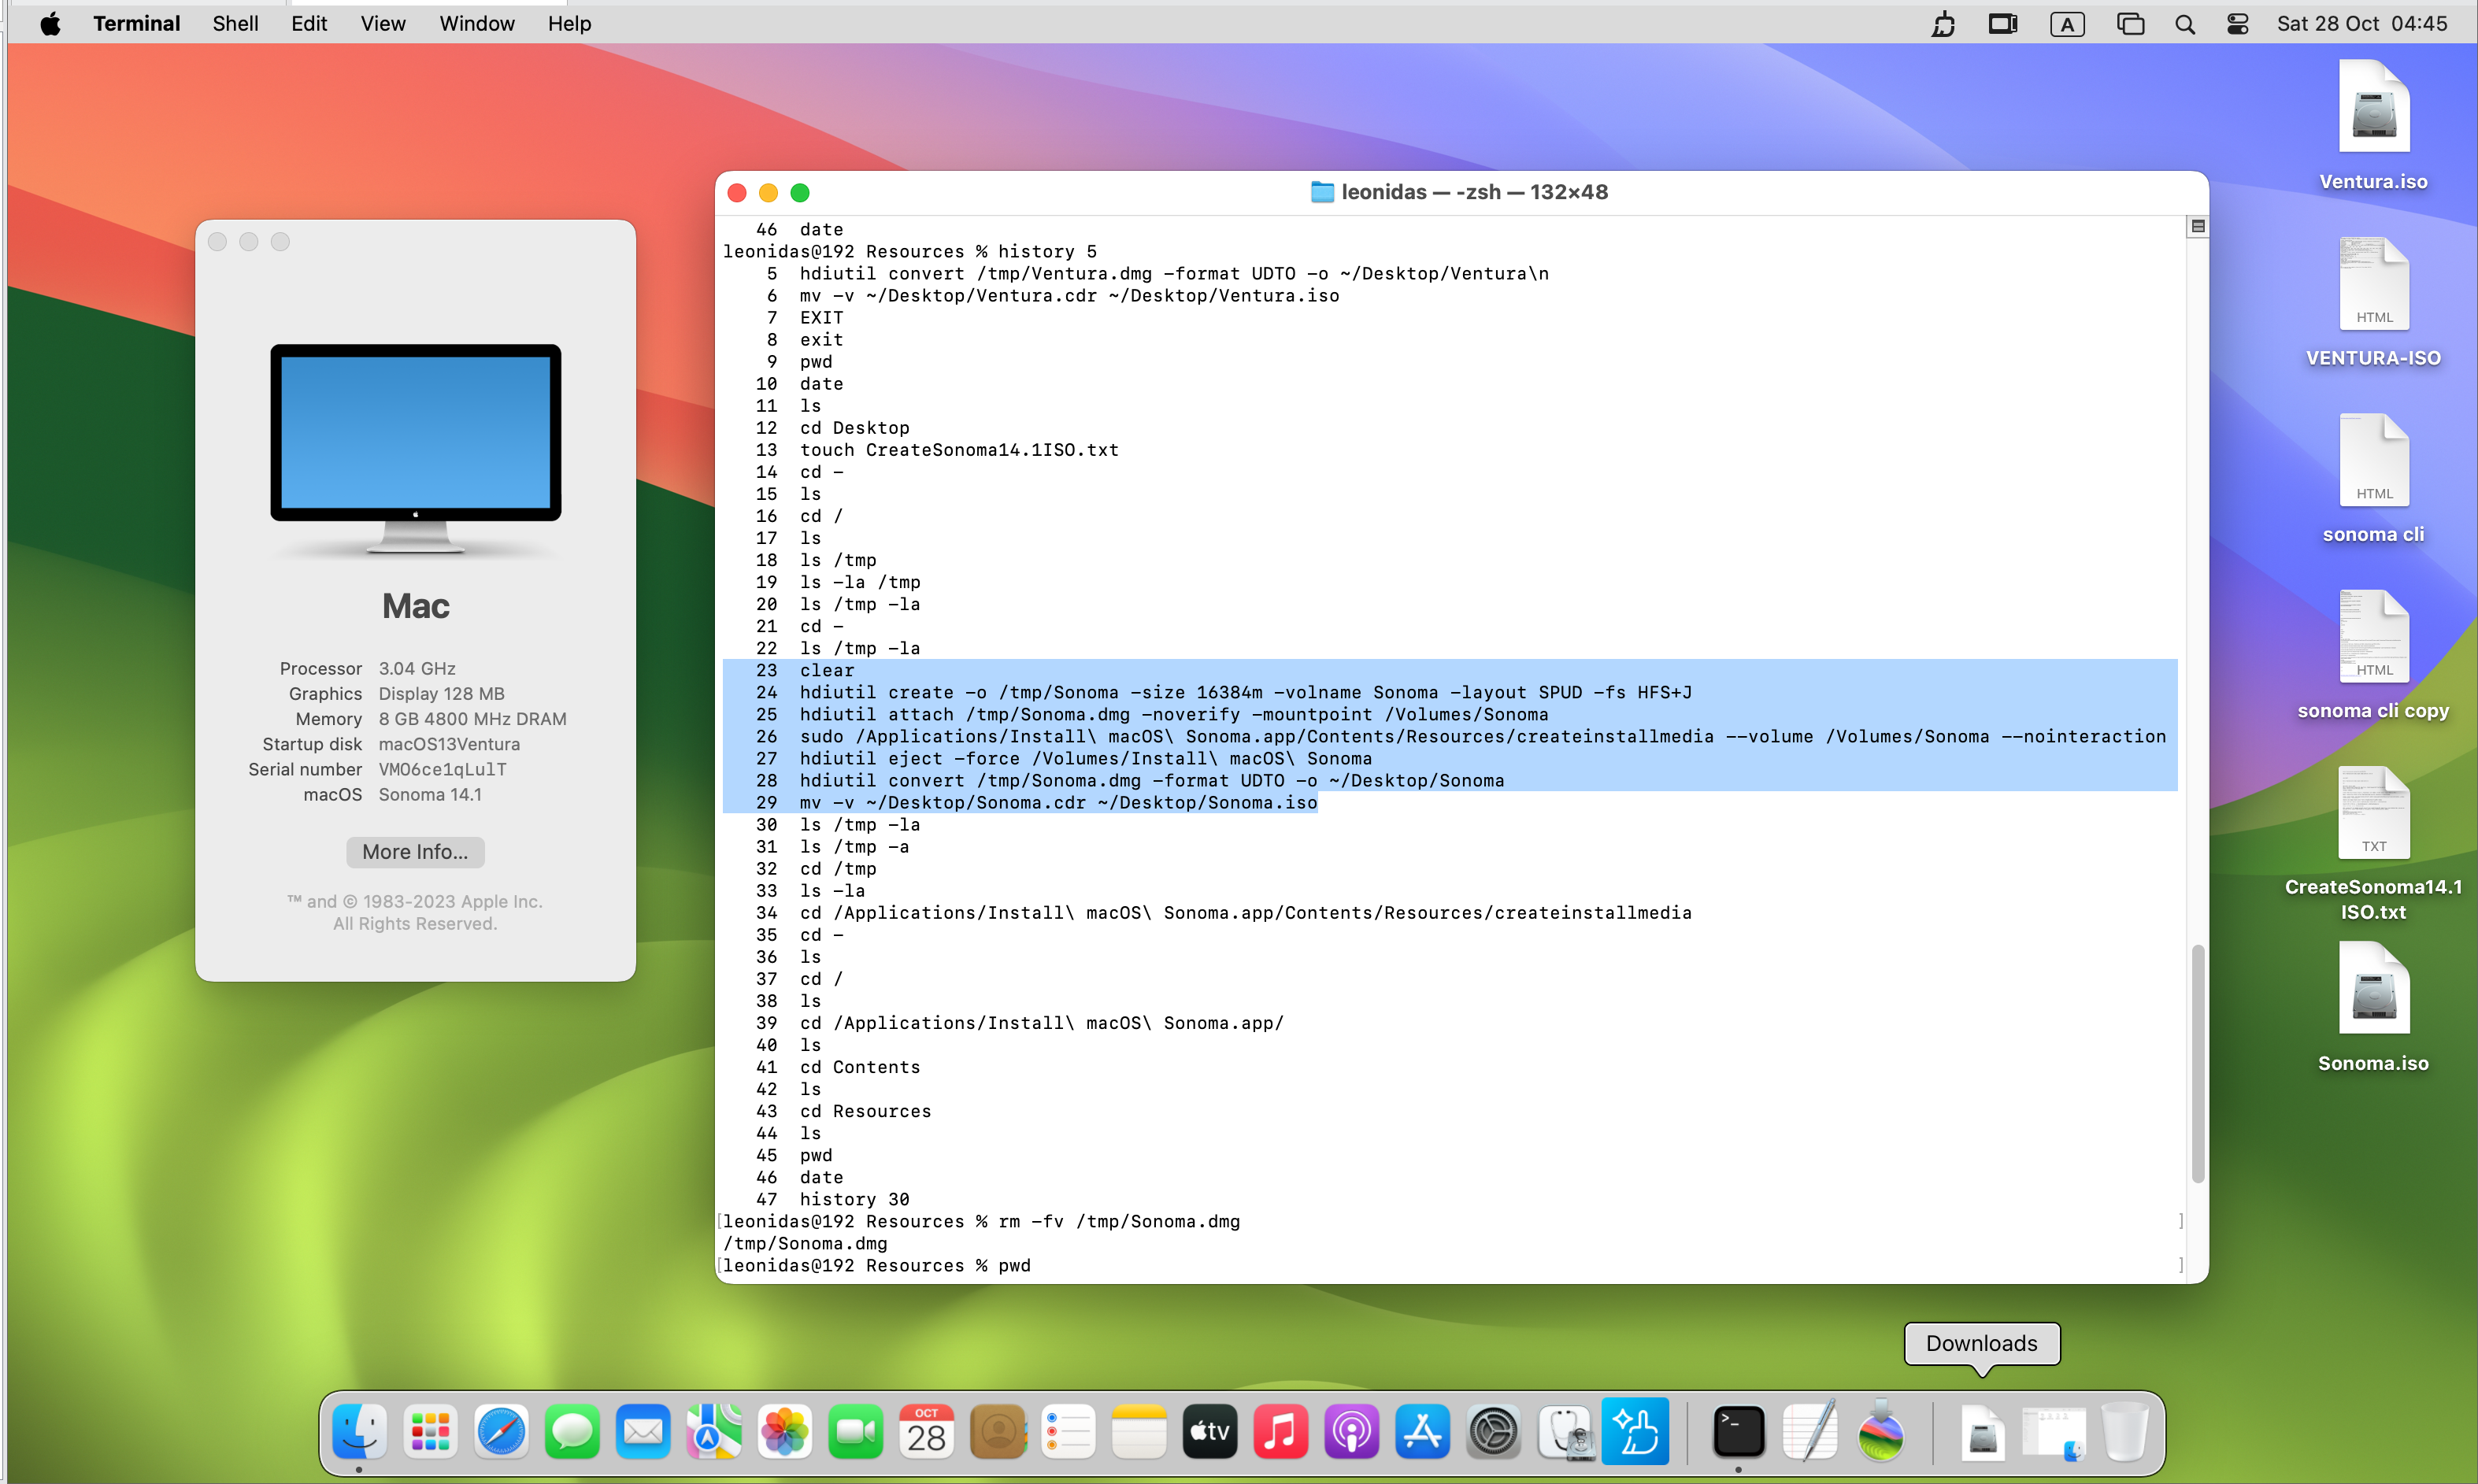
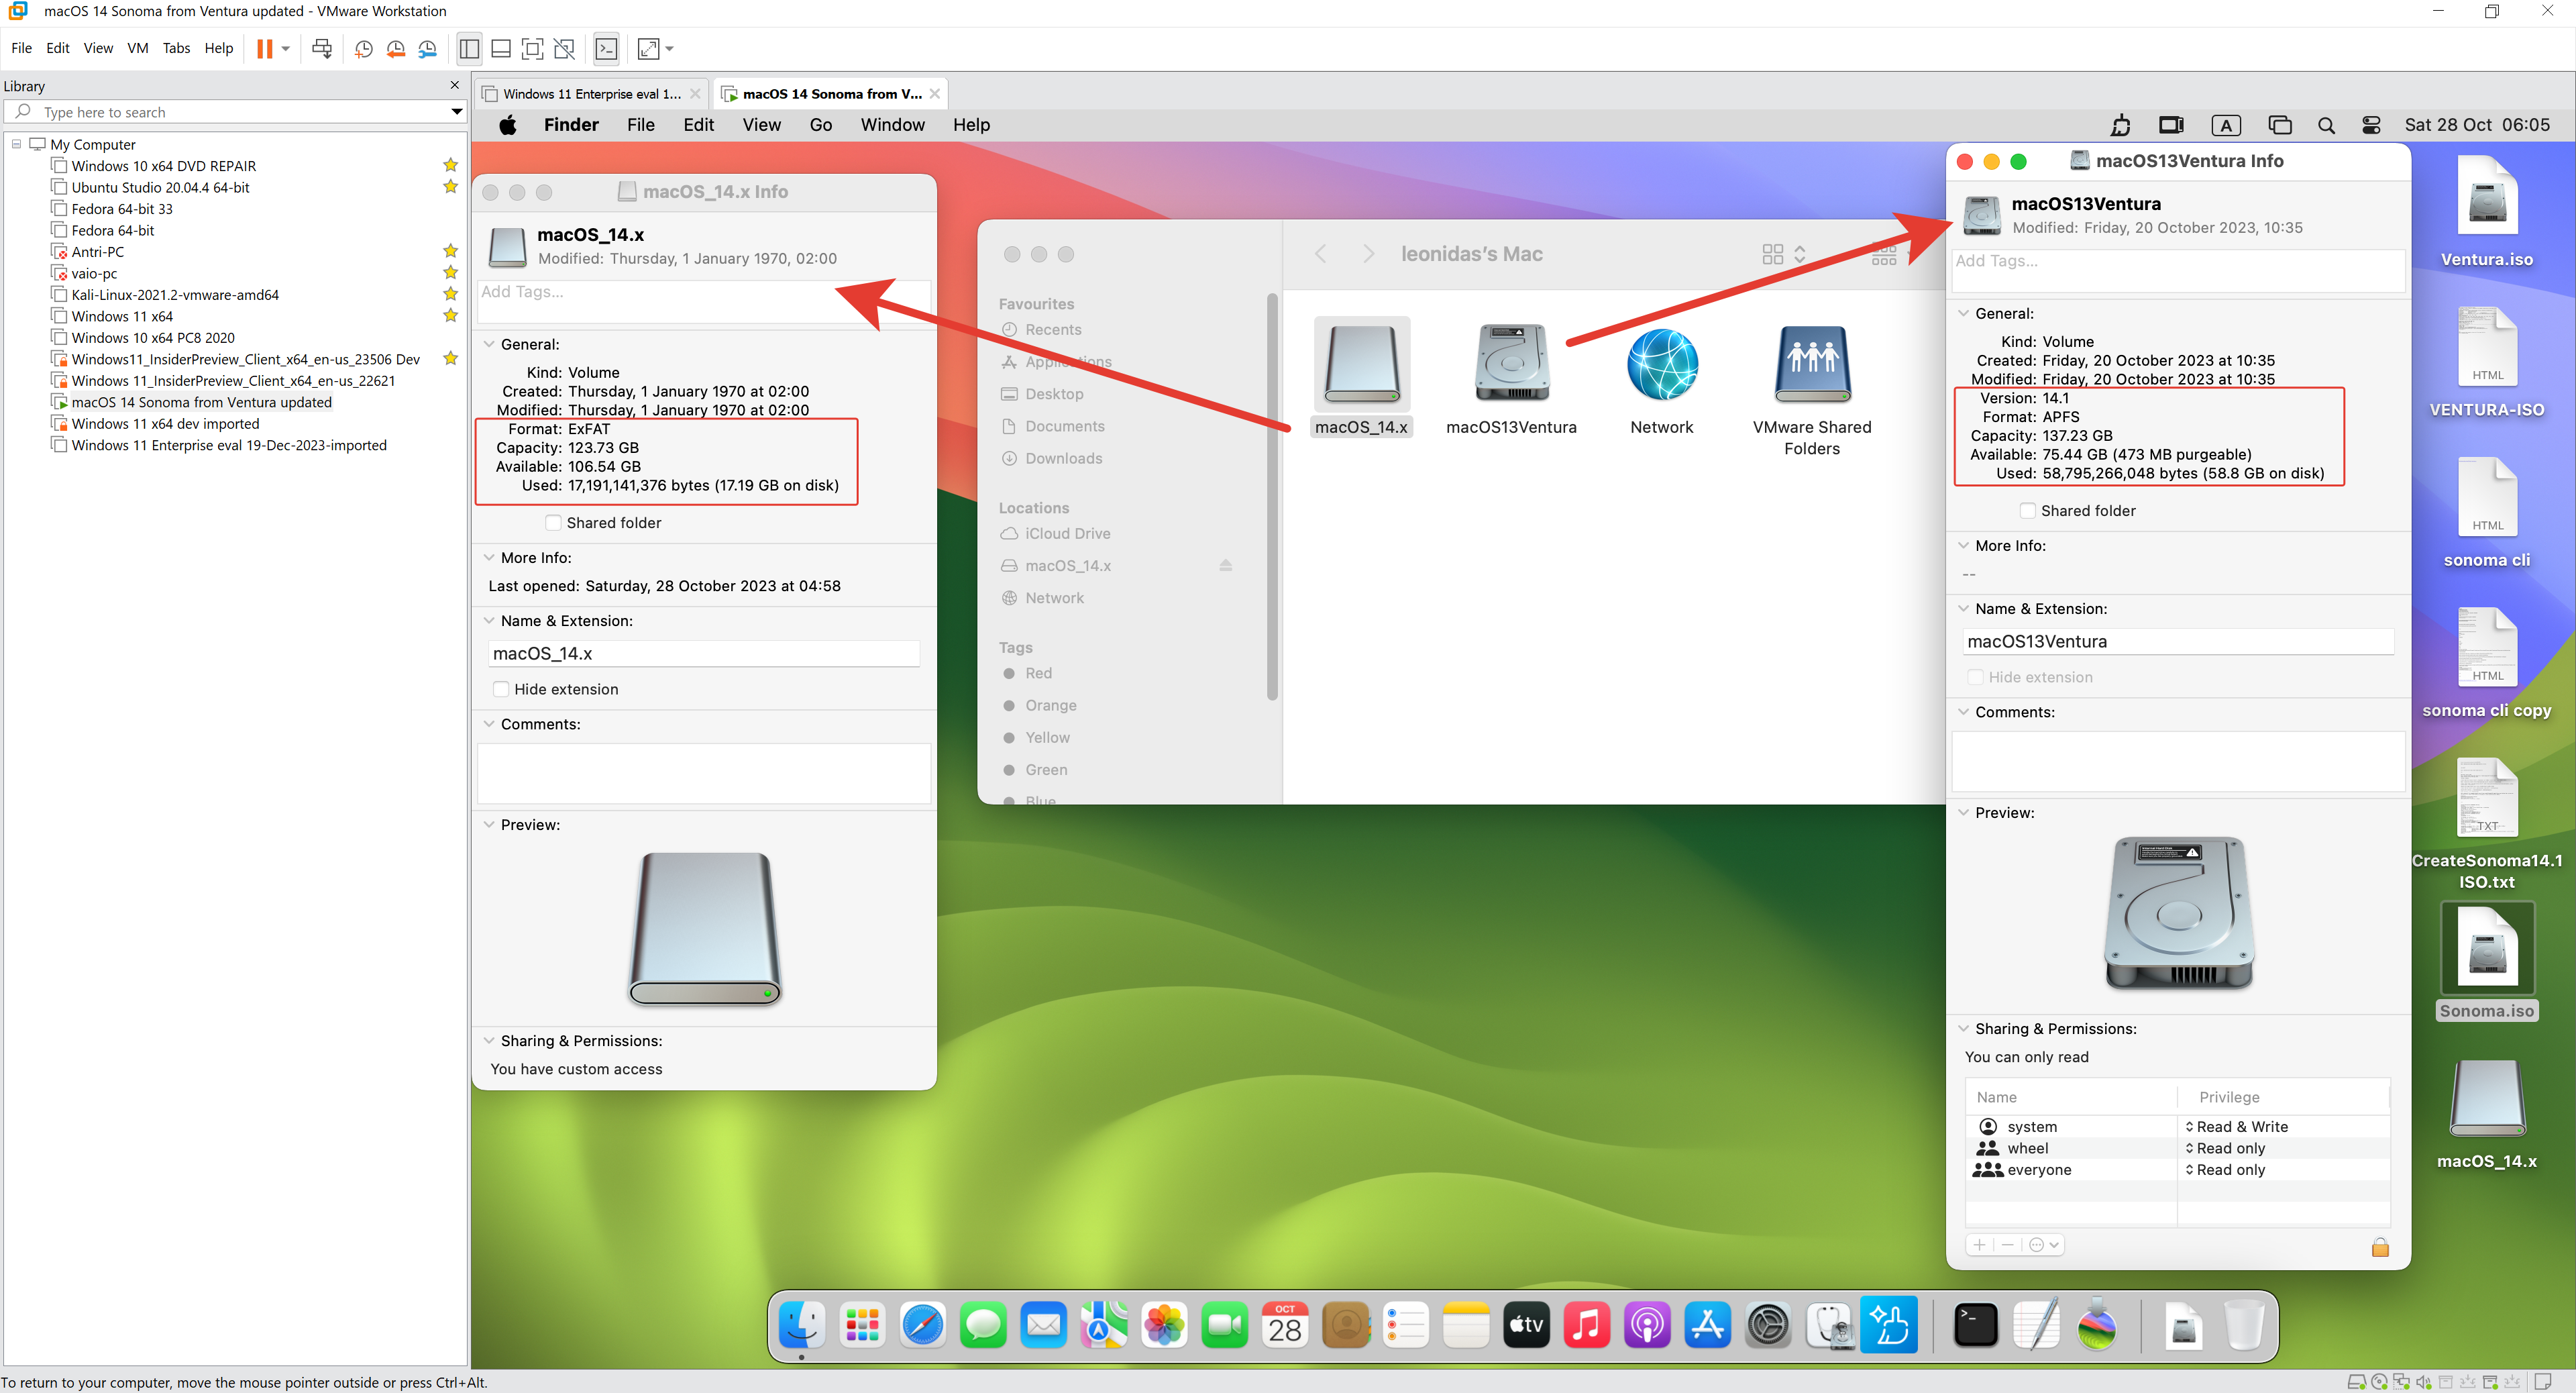
In my case the VM was Ventura 13.x [a year ago created Ventura.iso from this VM, see here the blog post for this], and updated to Sonoma 14.0, After this the non-Trusted VM macOS Updated to macOS Sonoma’s latest…. 14.1.
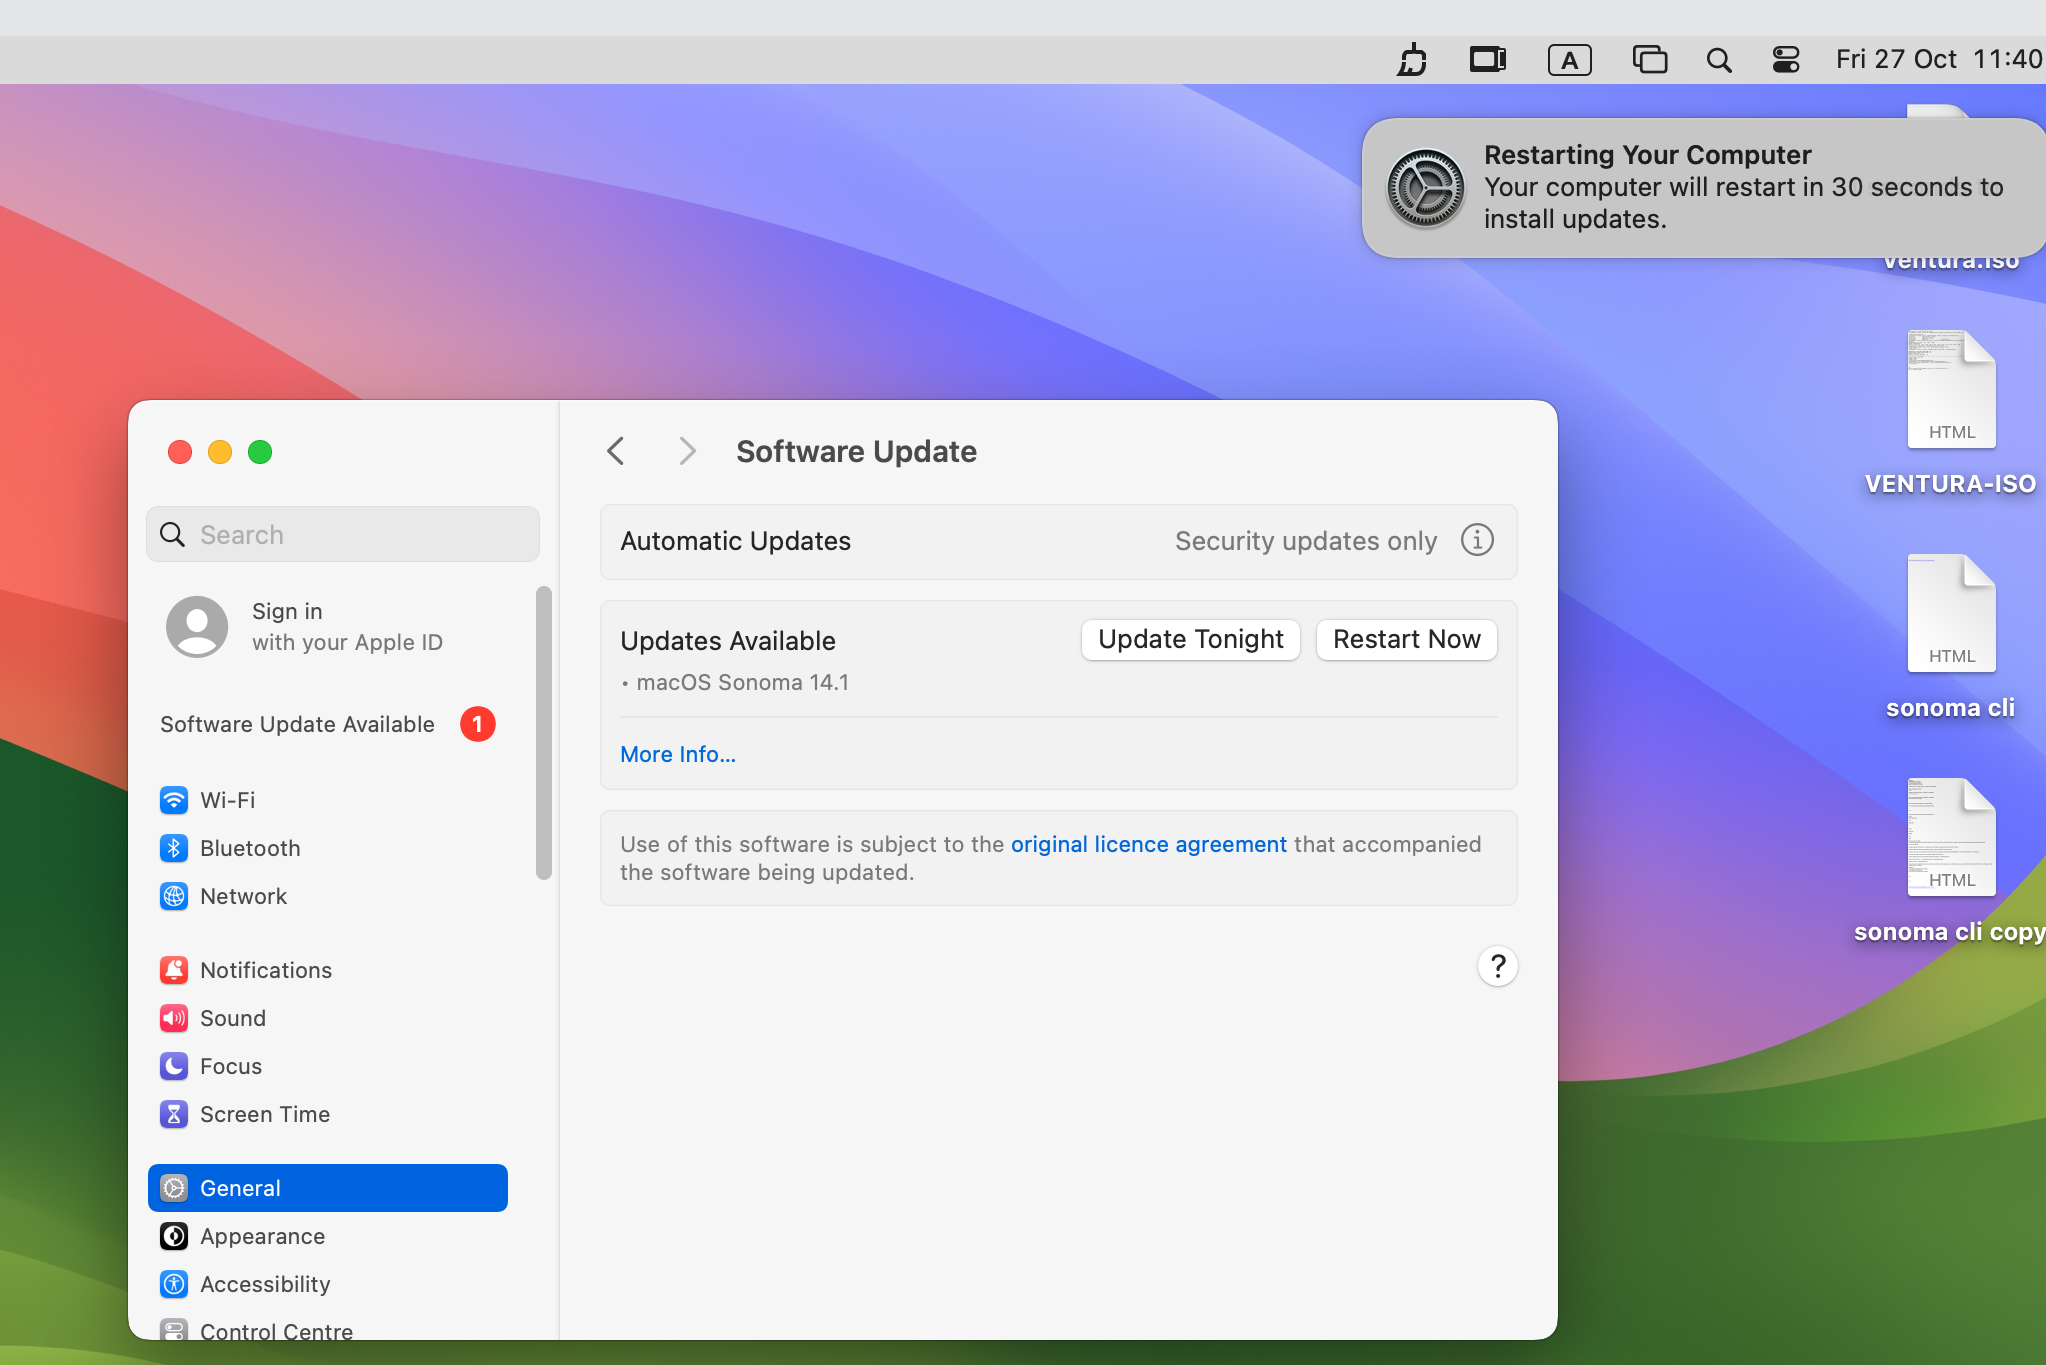


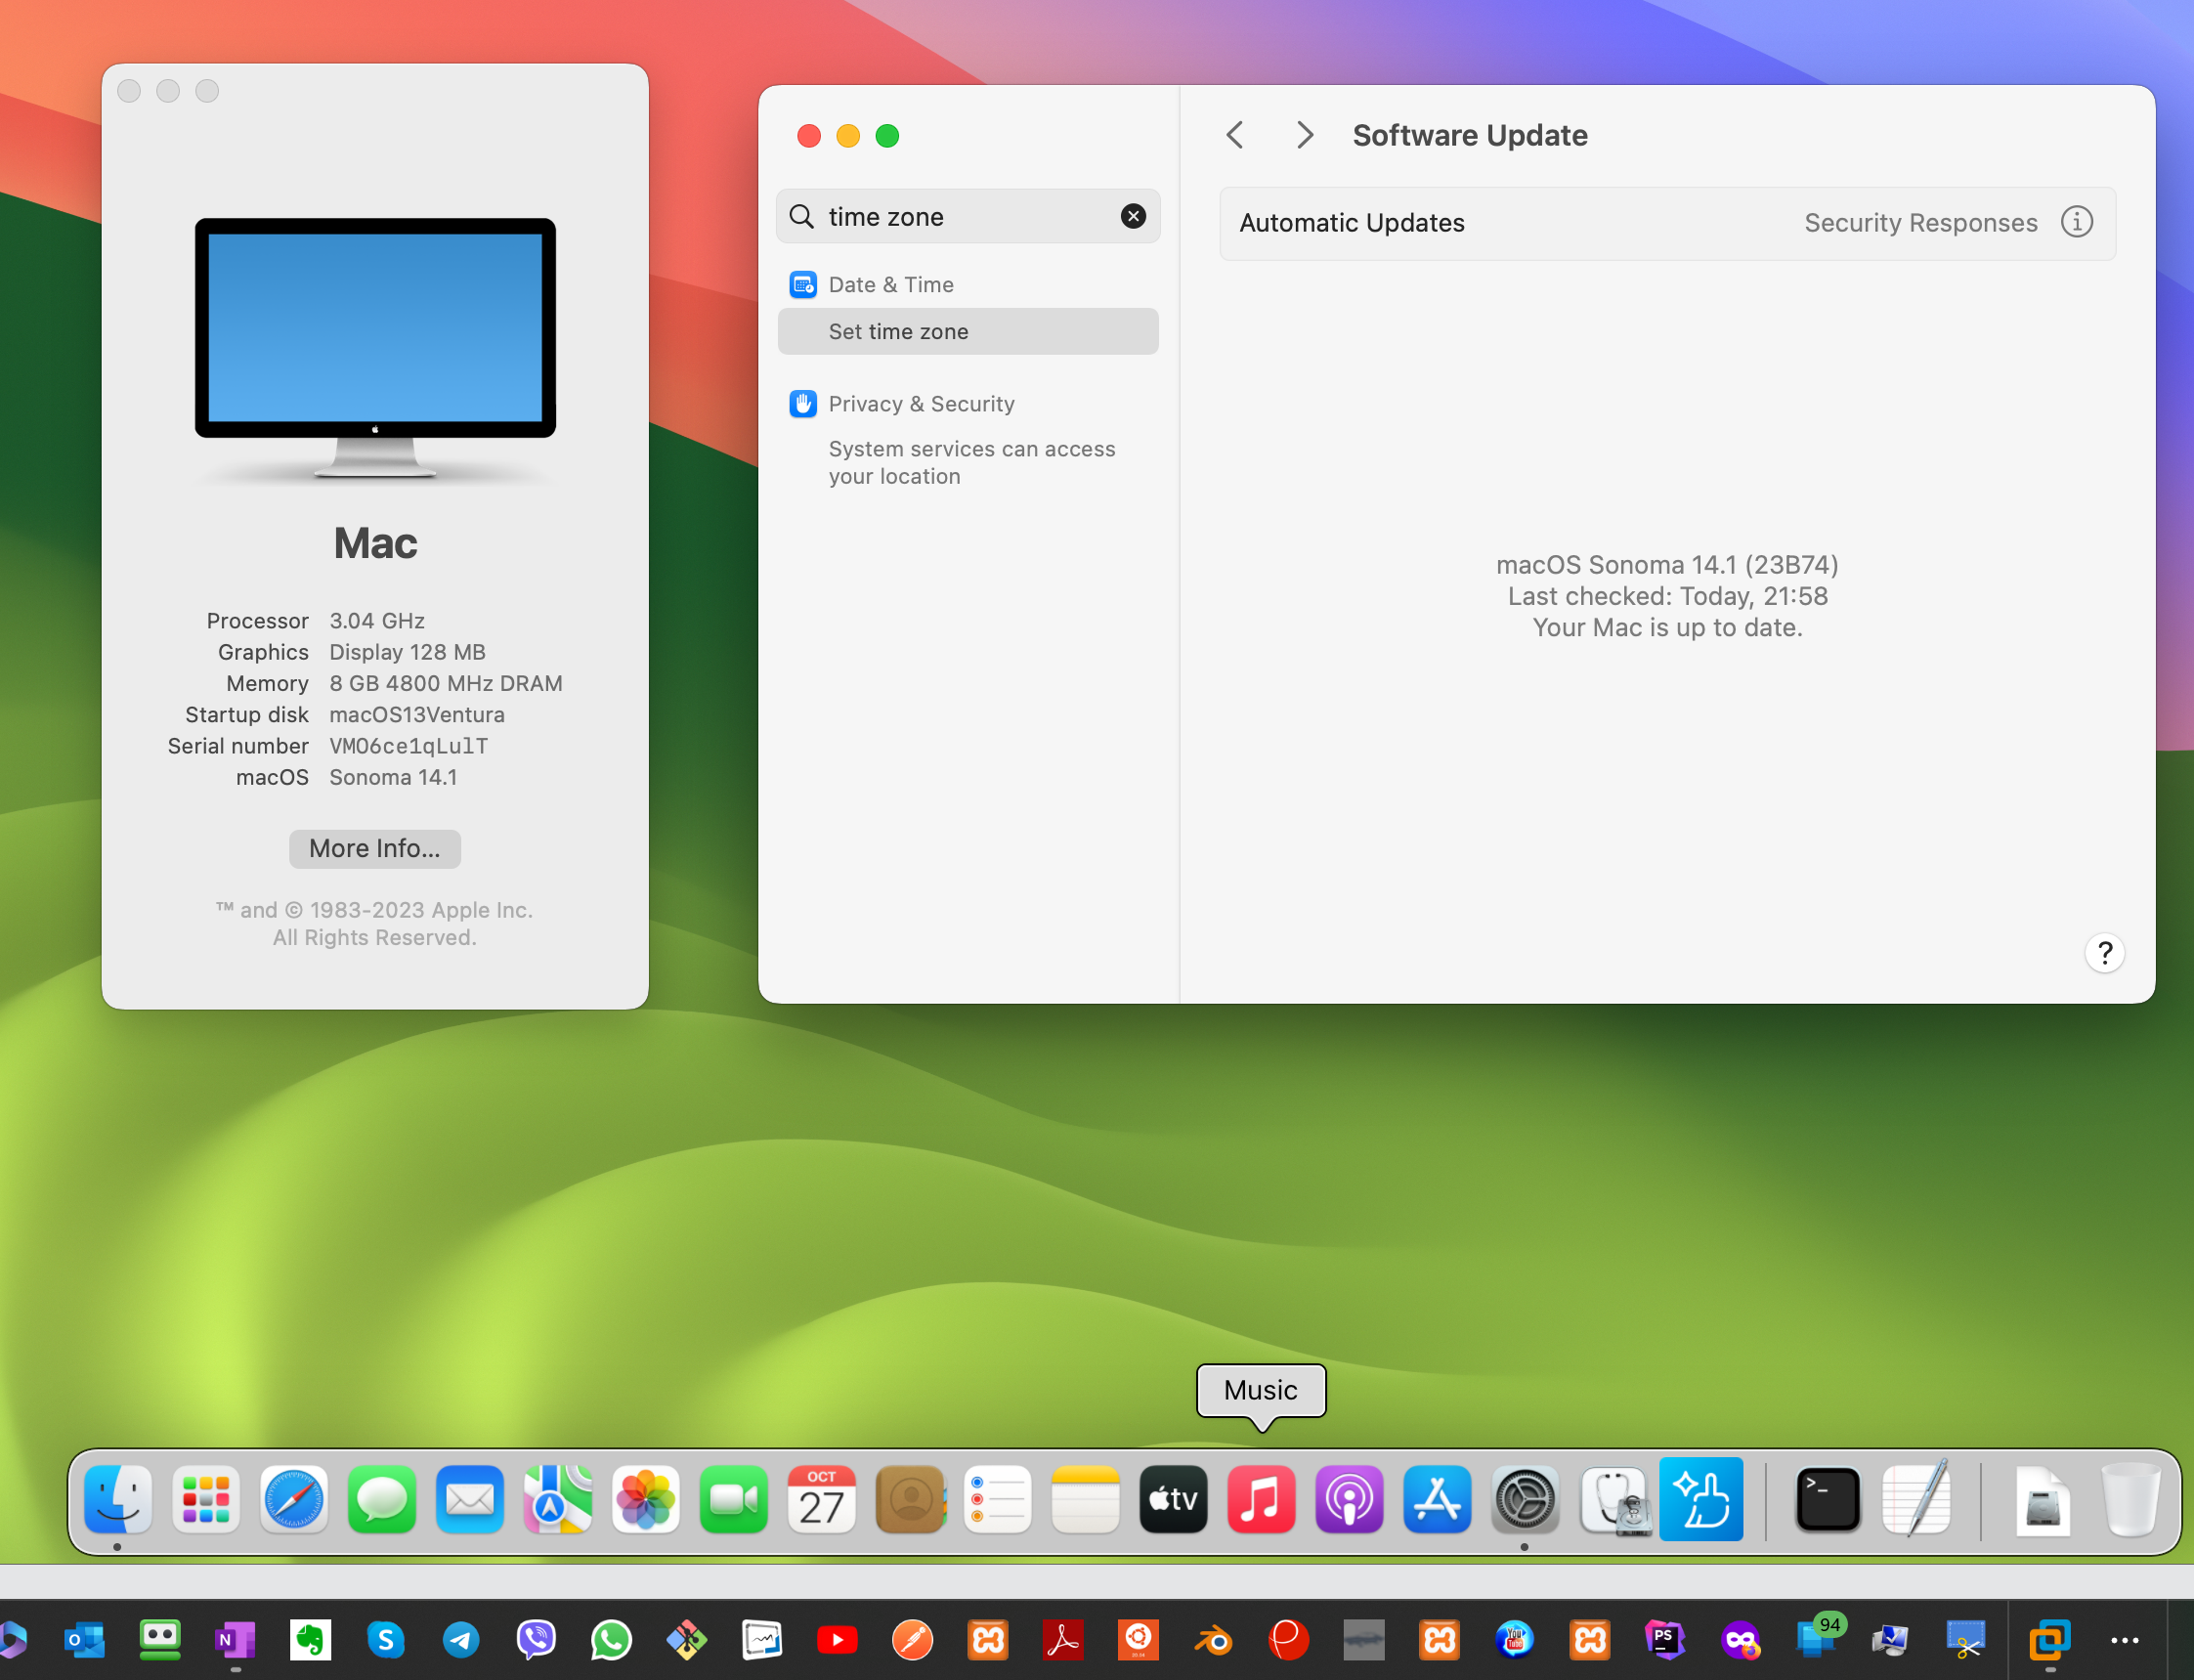
After Updating to MacOS 14.1 Sonoma, now I will create an ISO Sonoma14.1.iso file… useful for Virtual Machines, etc. Also, this should be a Trusted ISO, you can log in with Online internet accounts free of worries of malware…
STEPS CREATE macOS_Sonoma.iso
=========
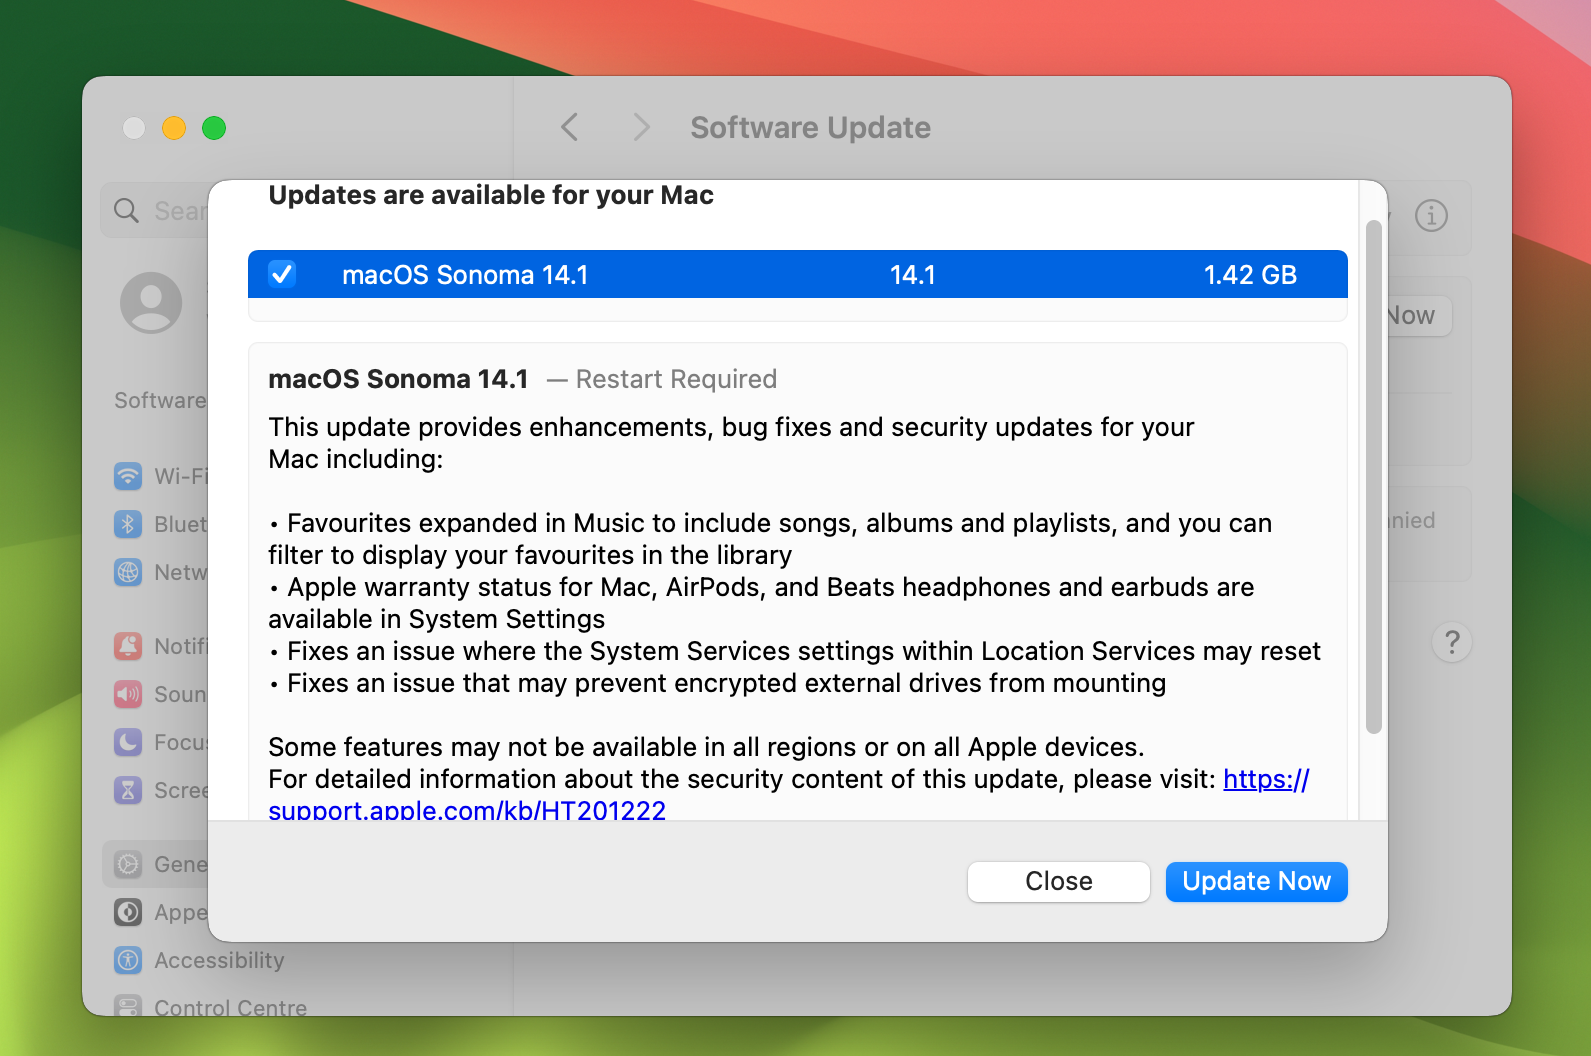
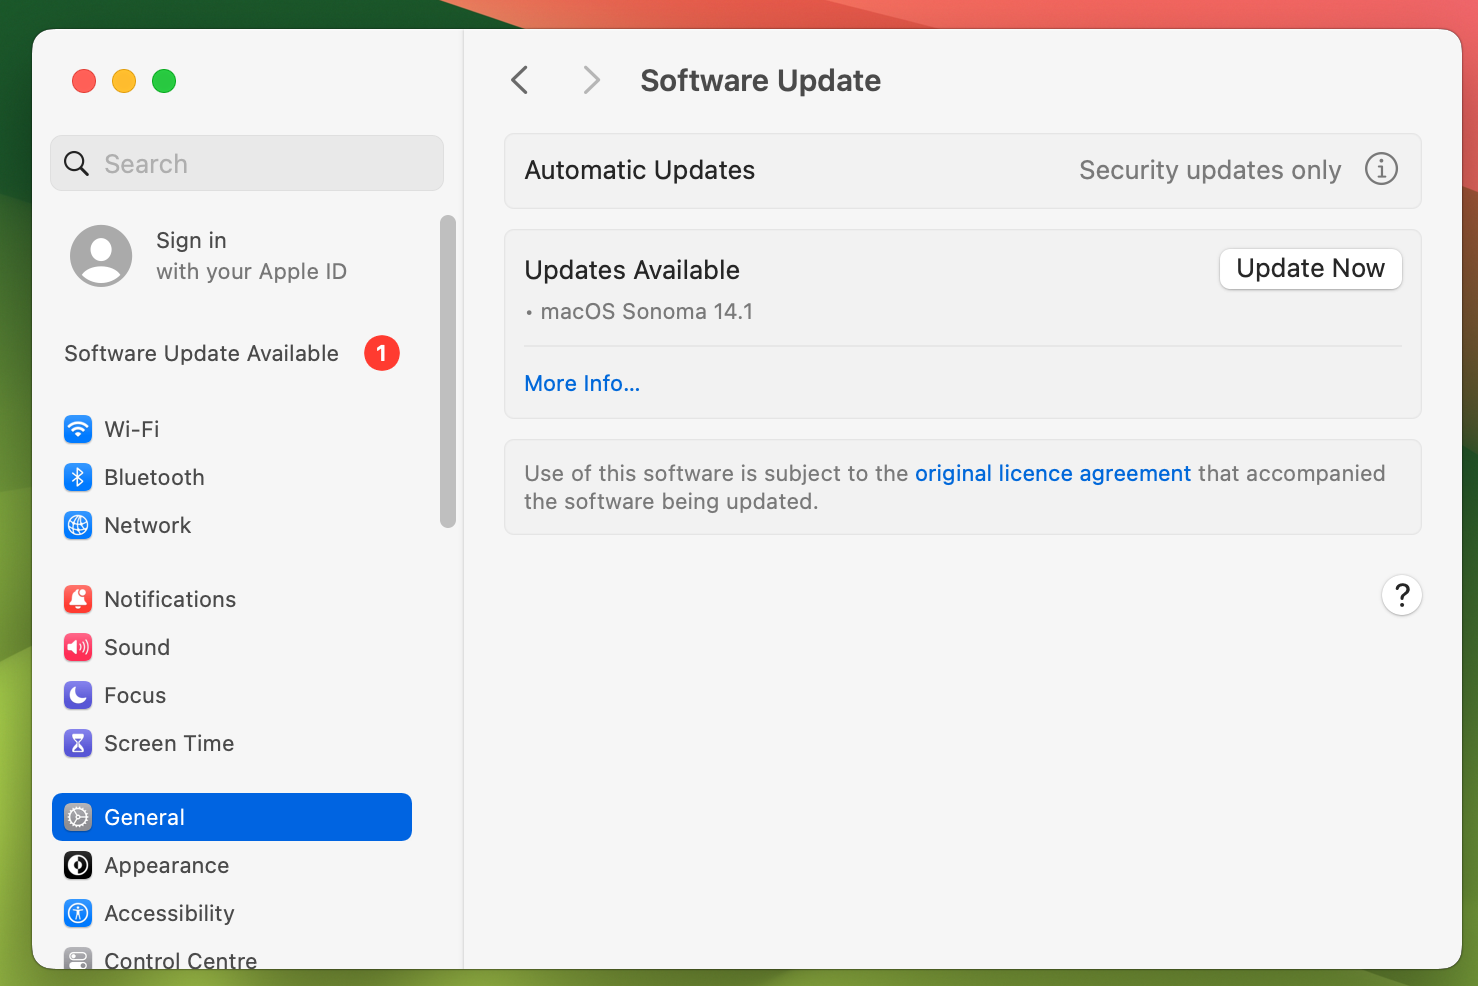
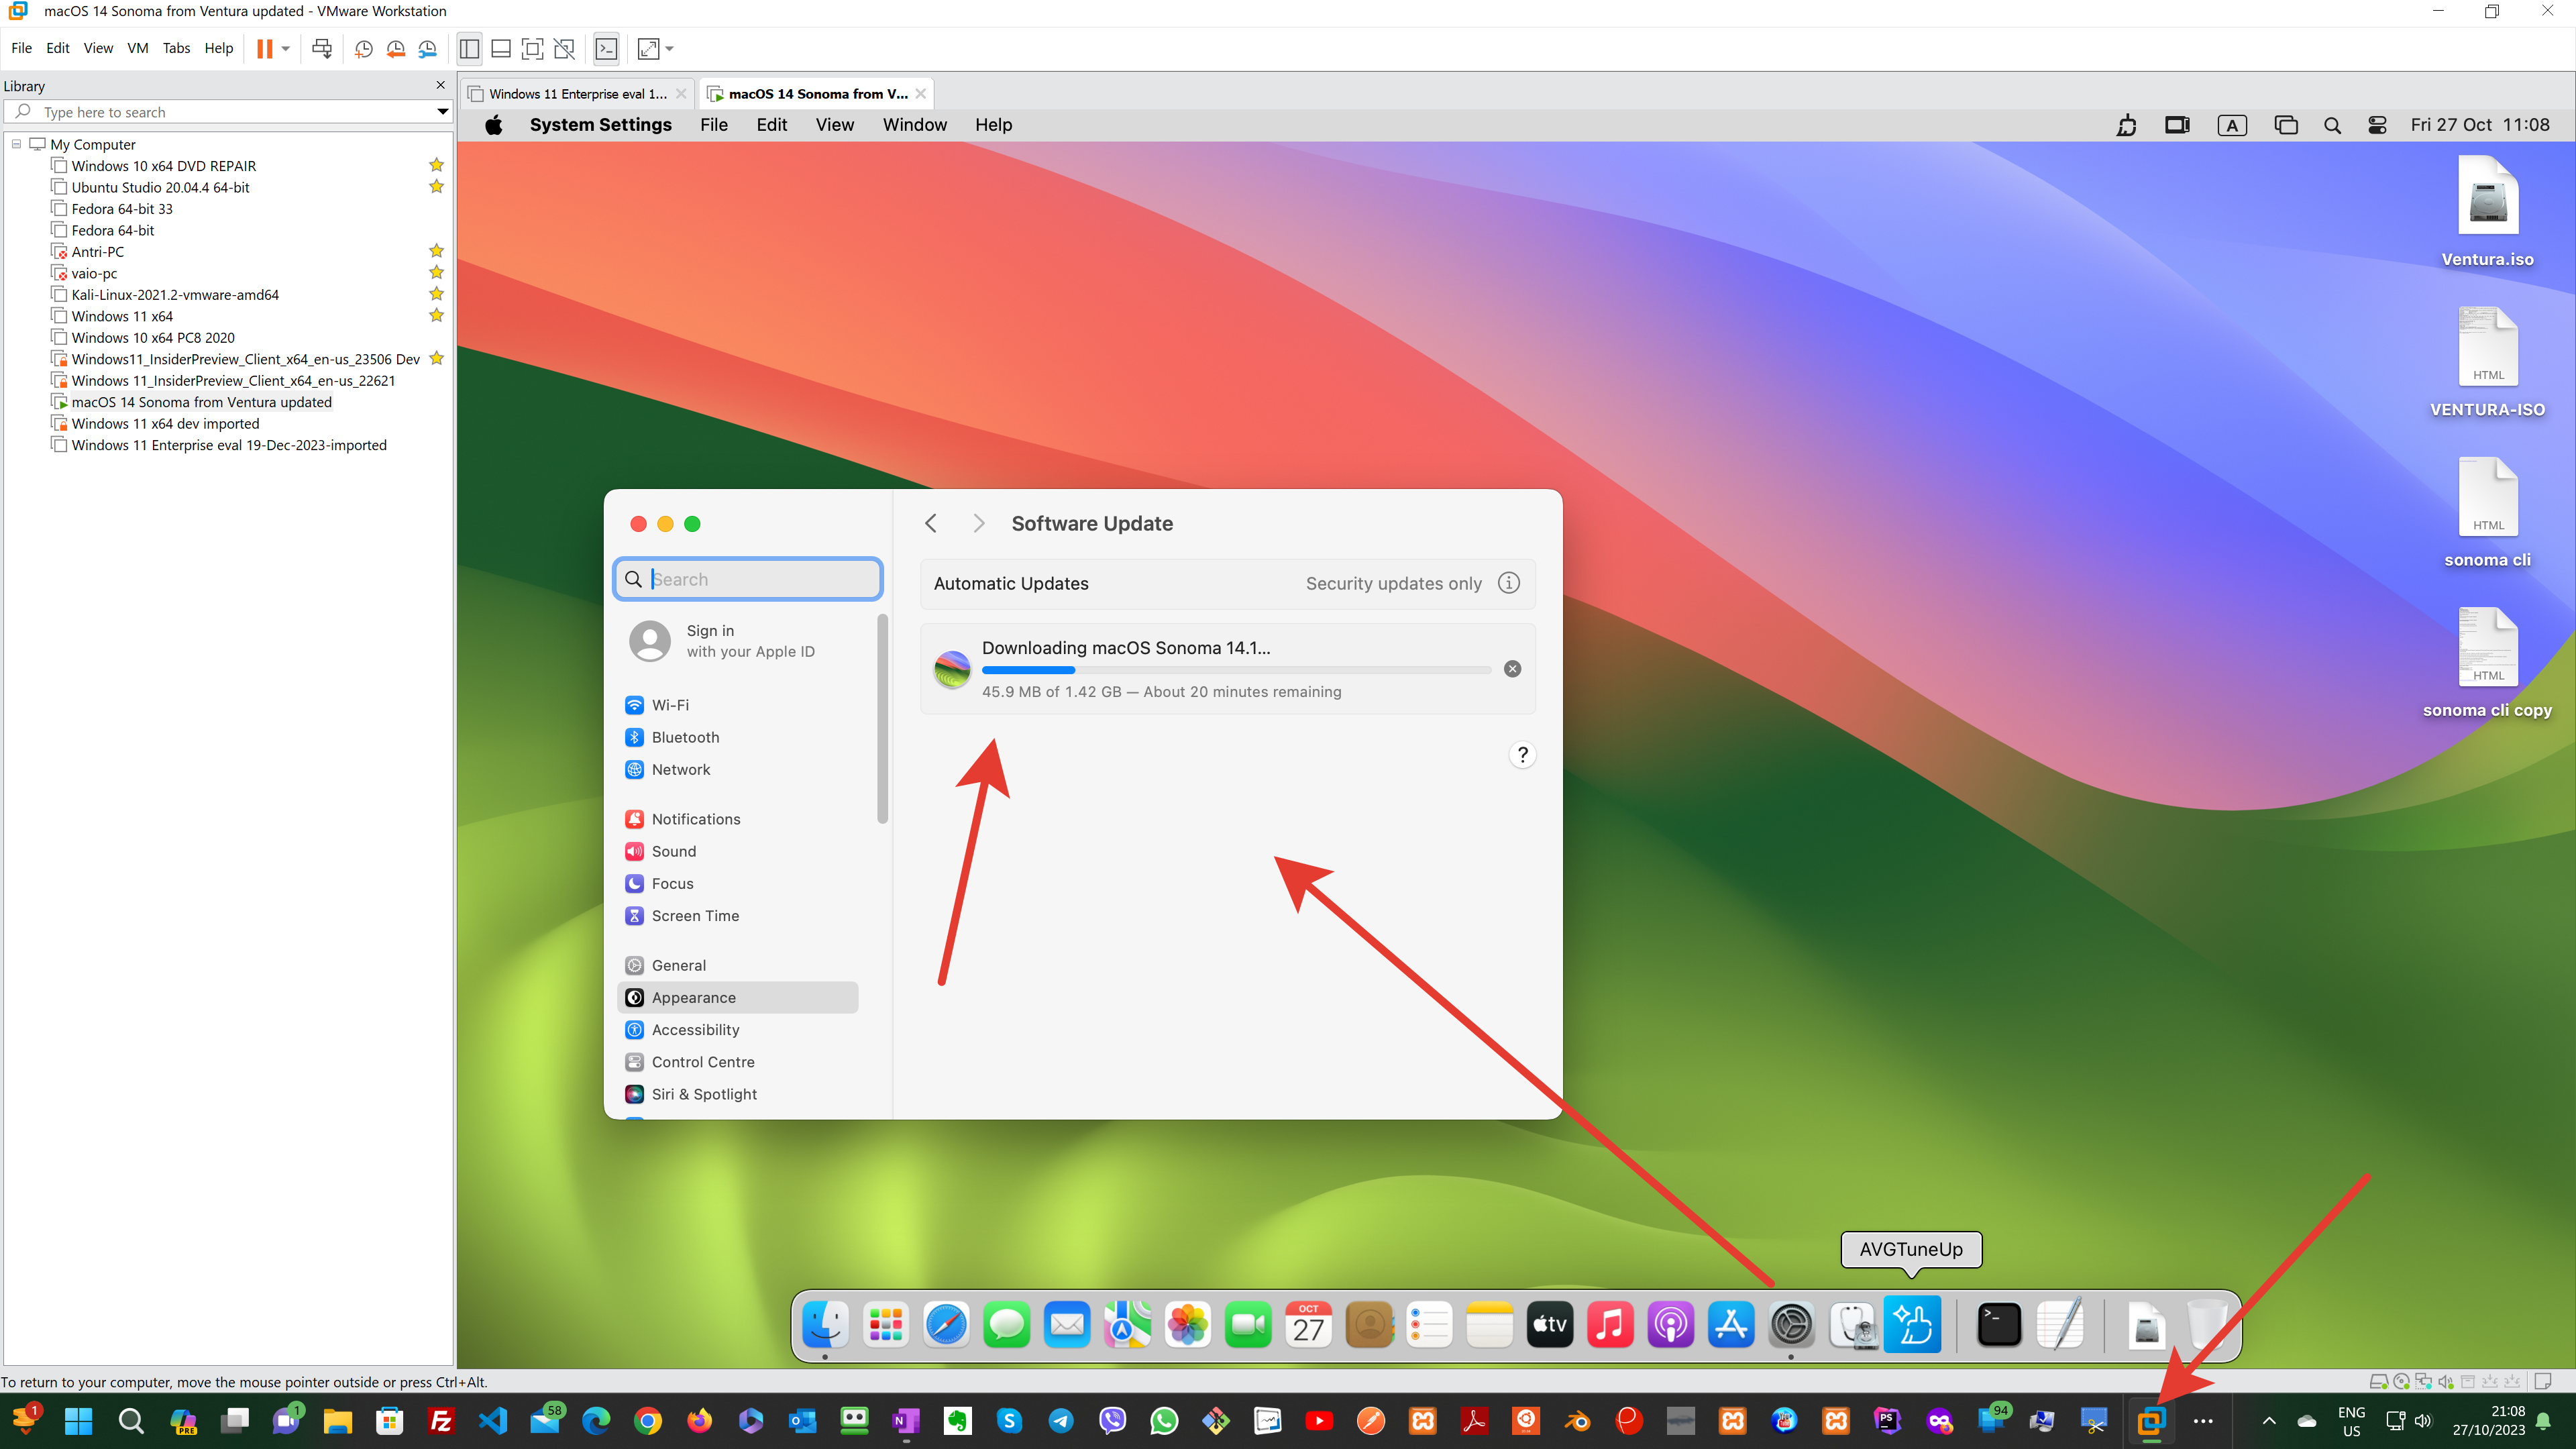
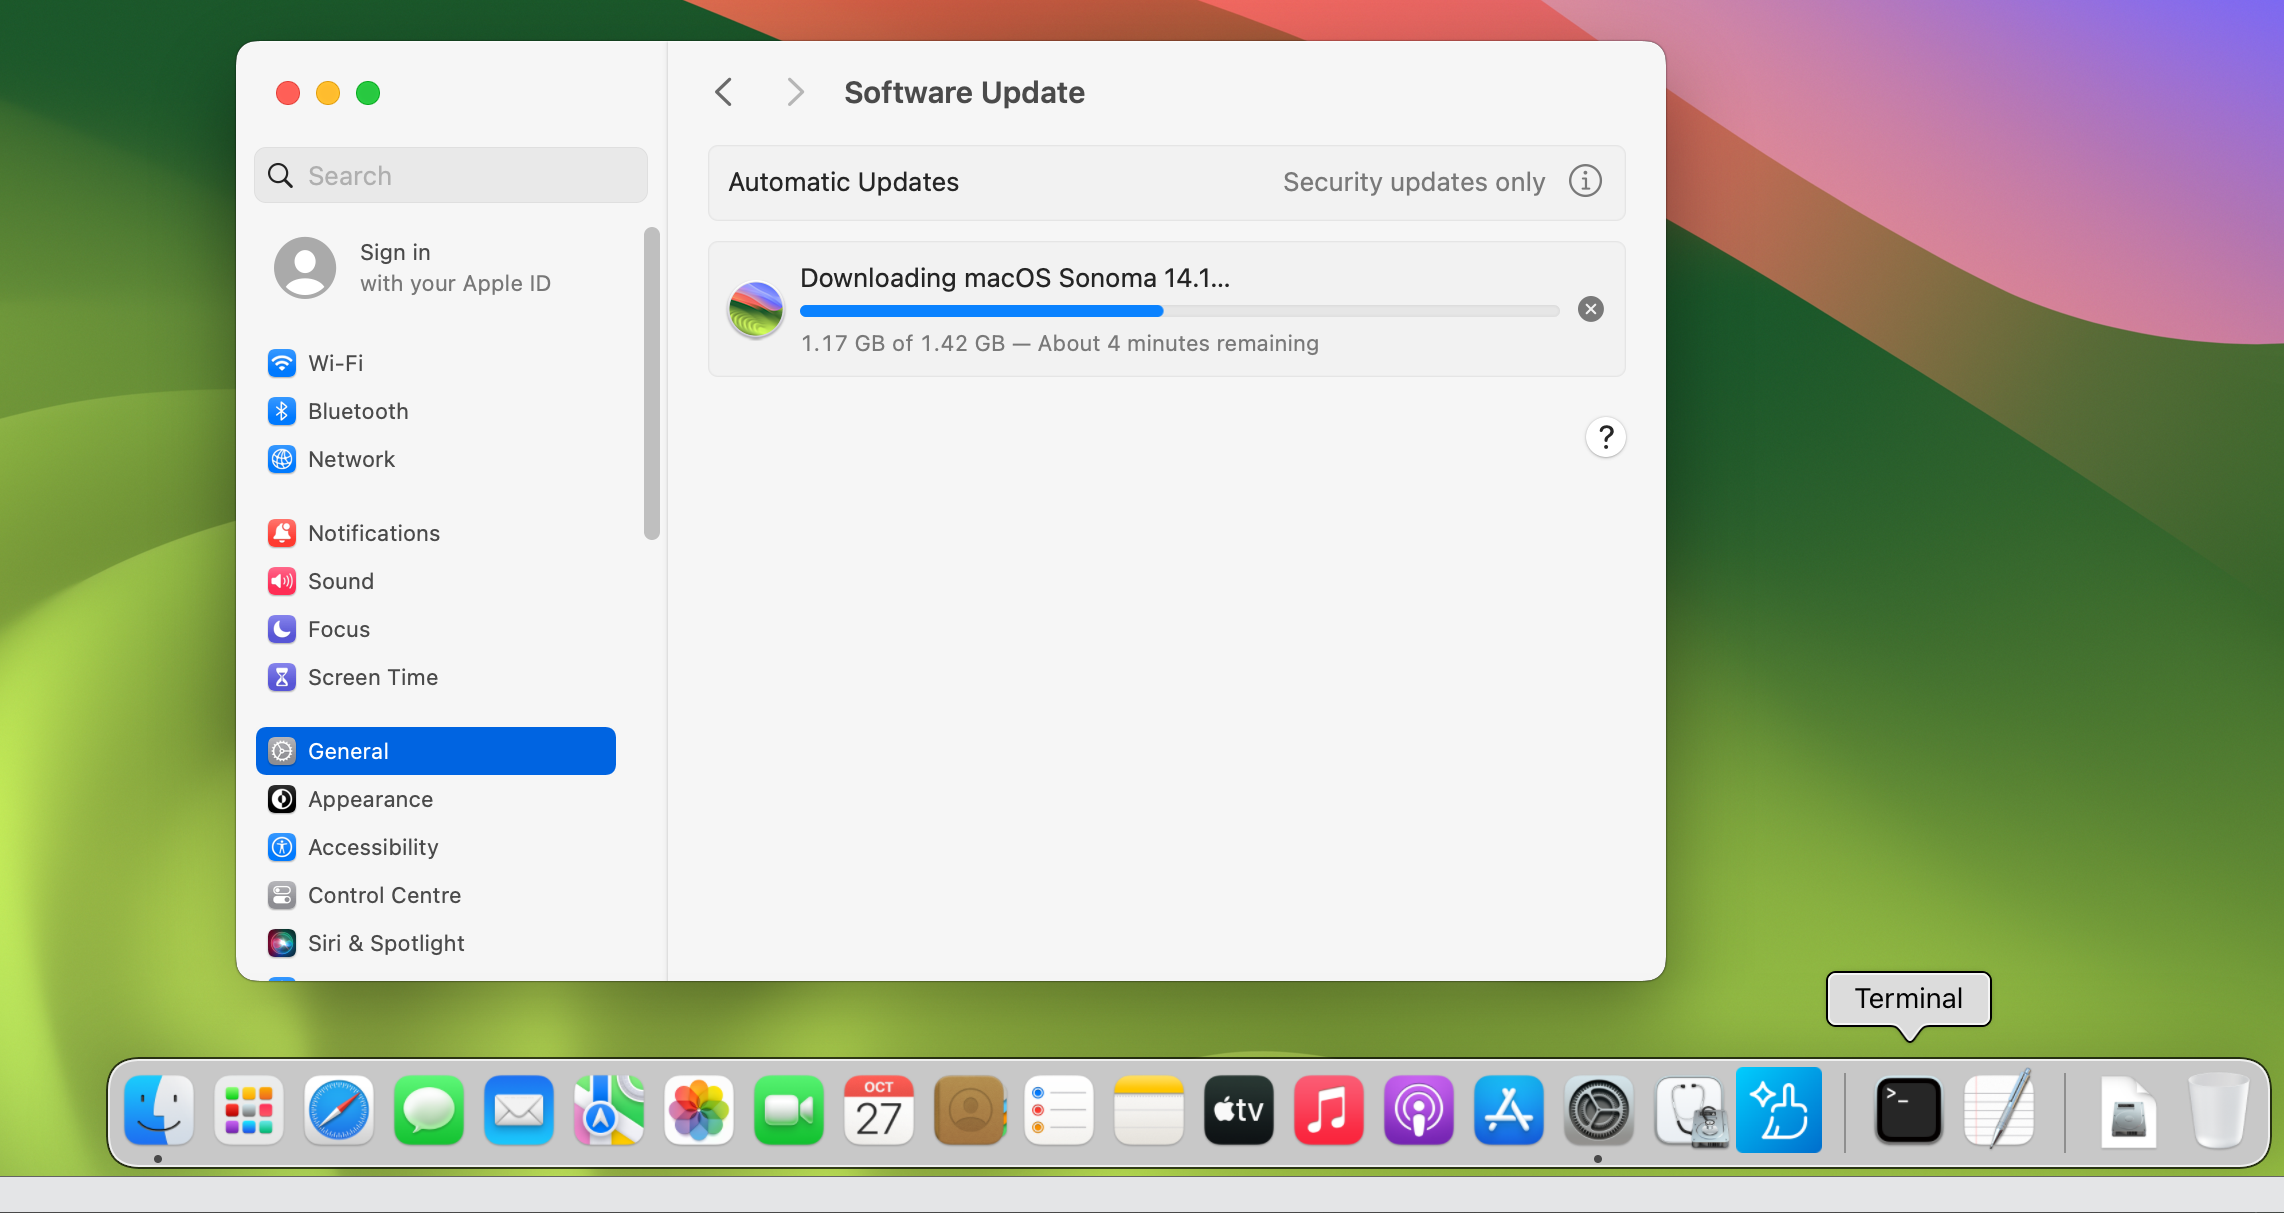
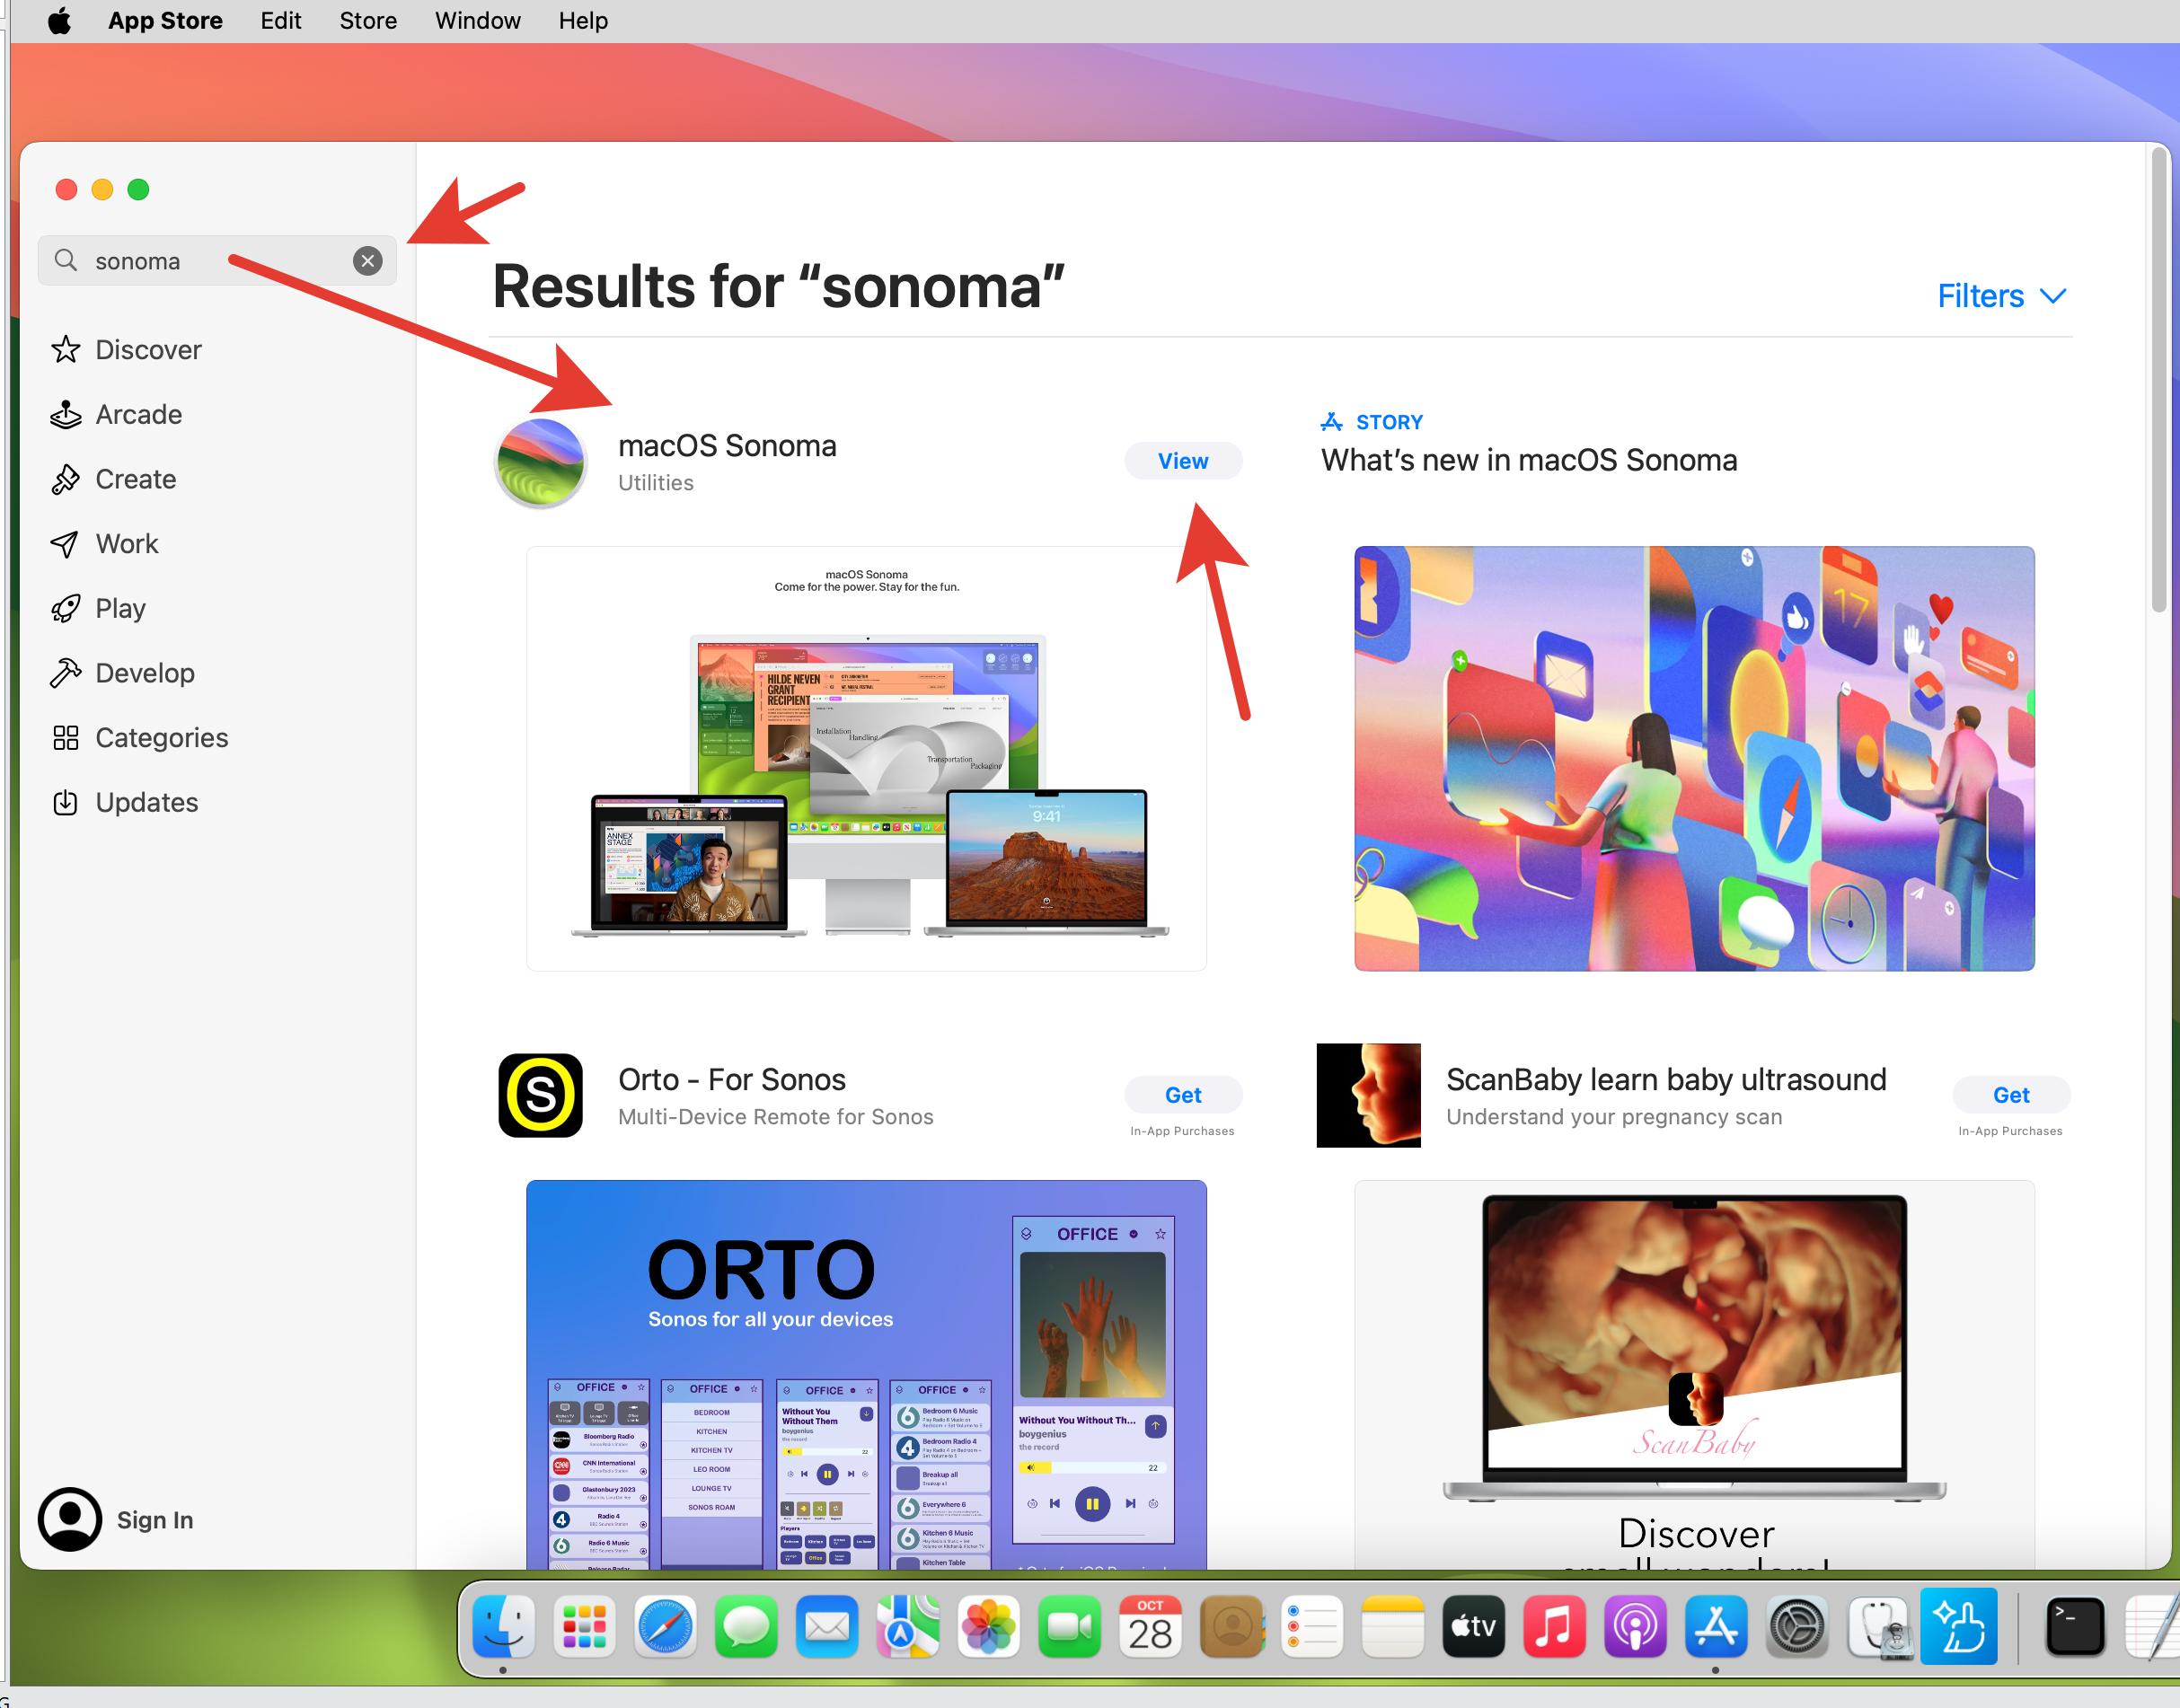
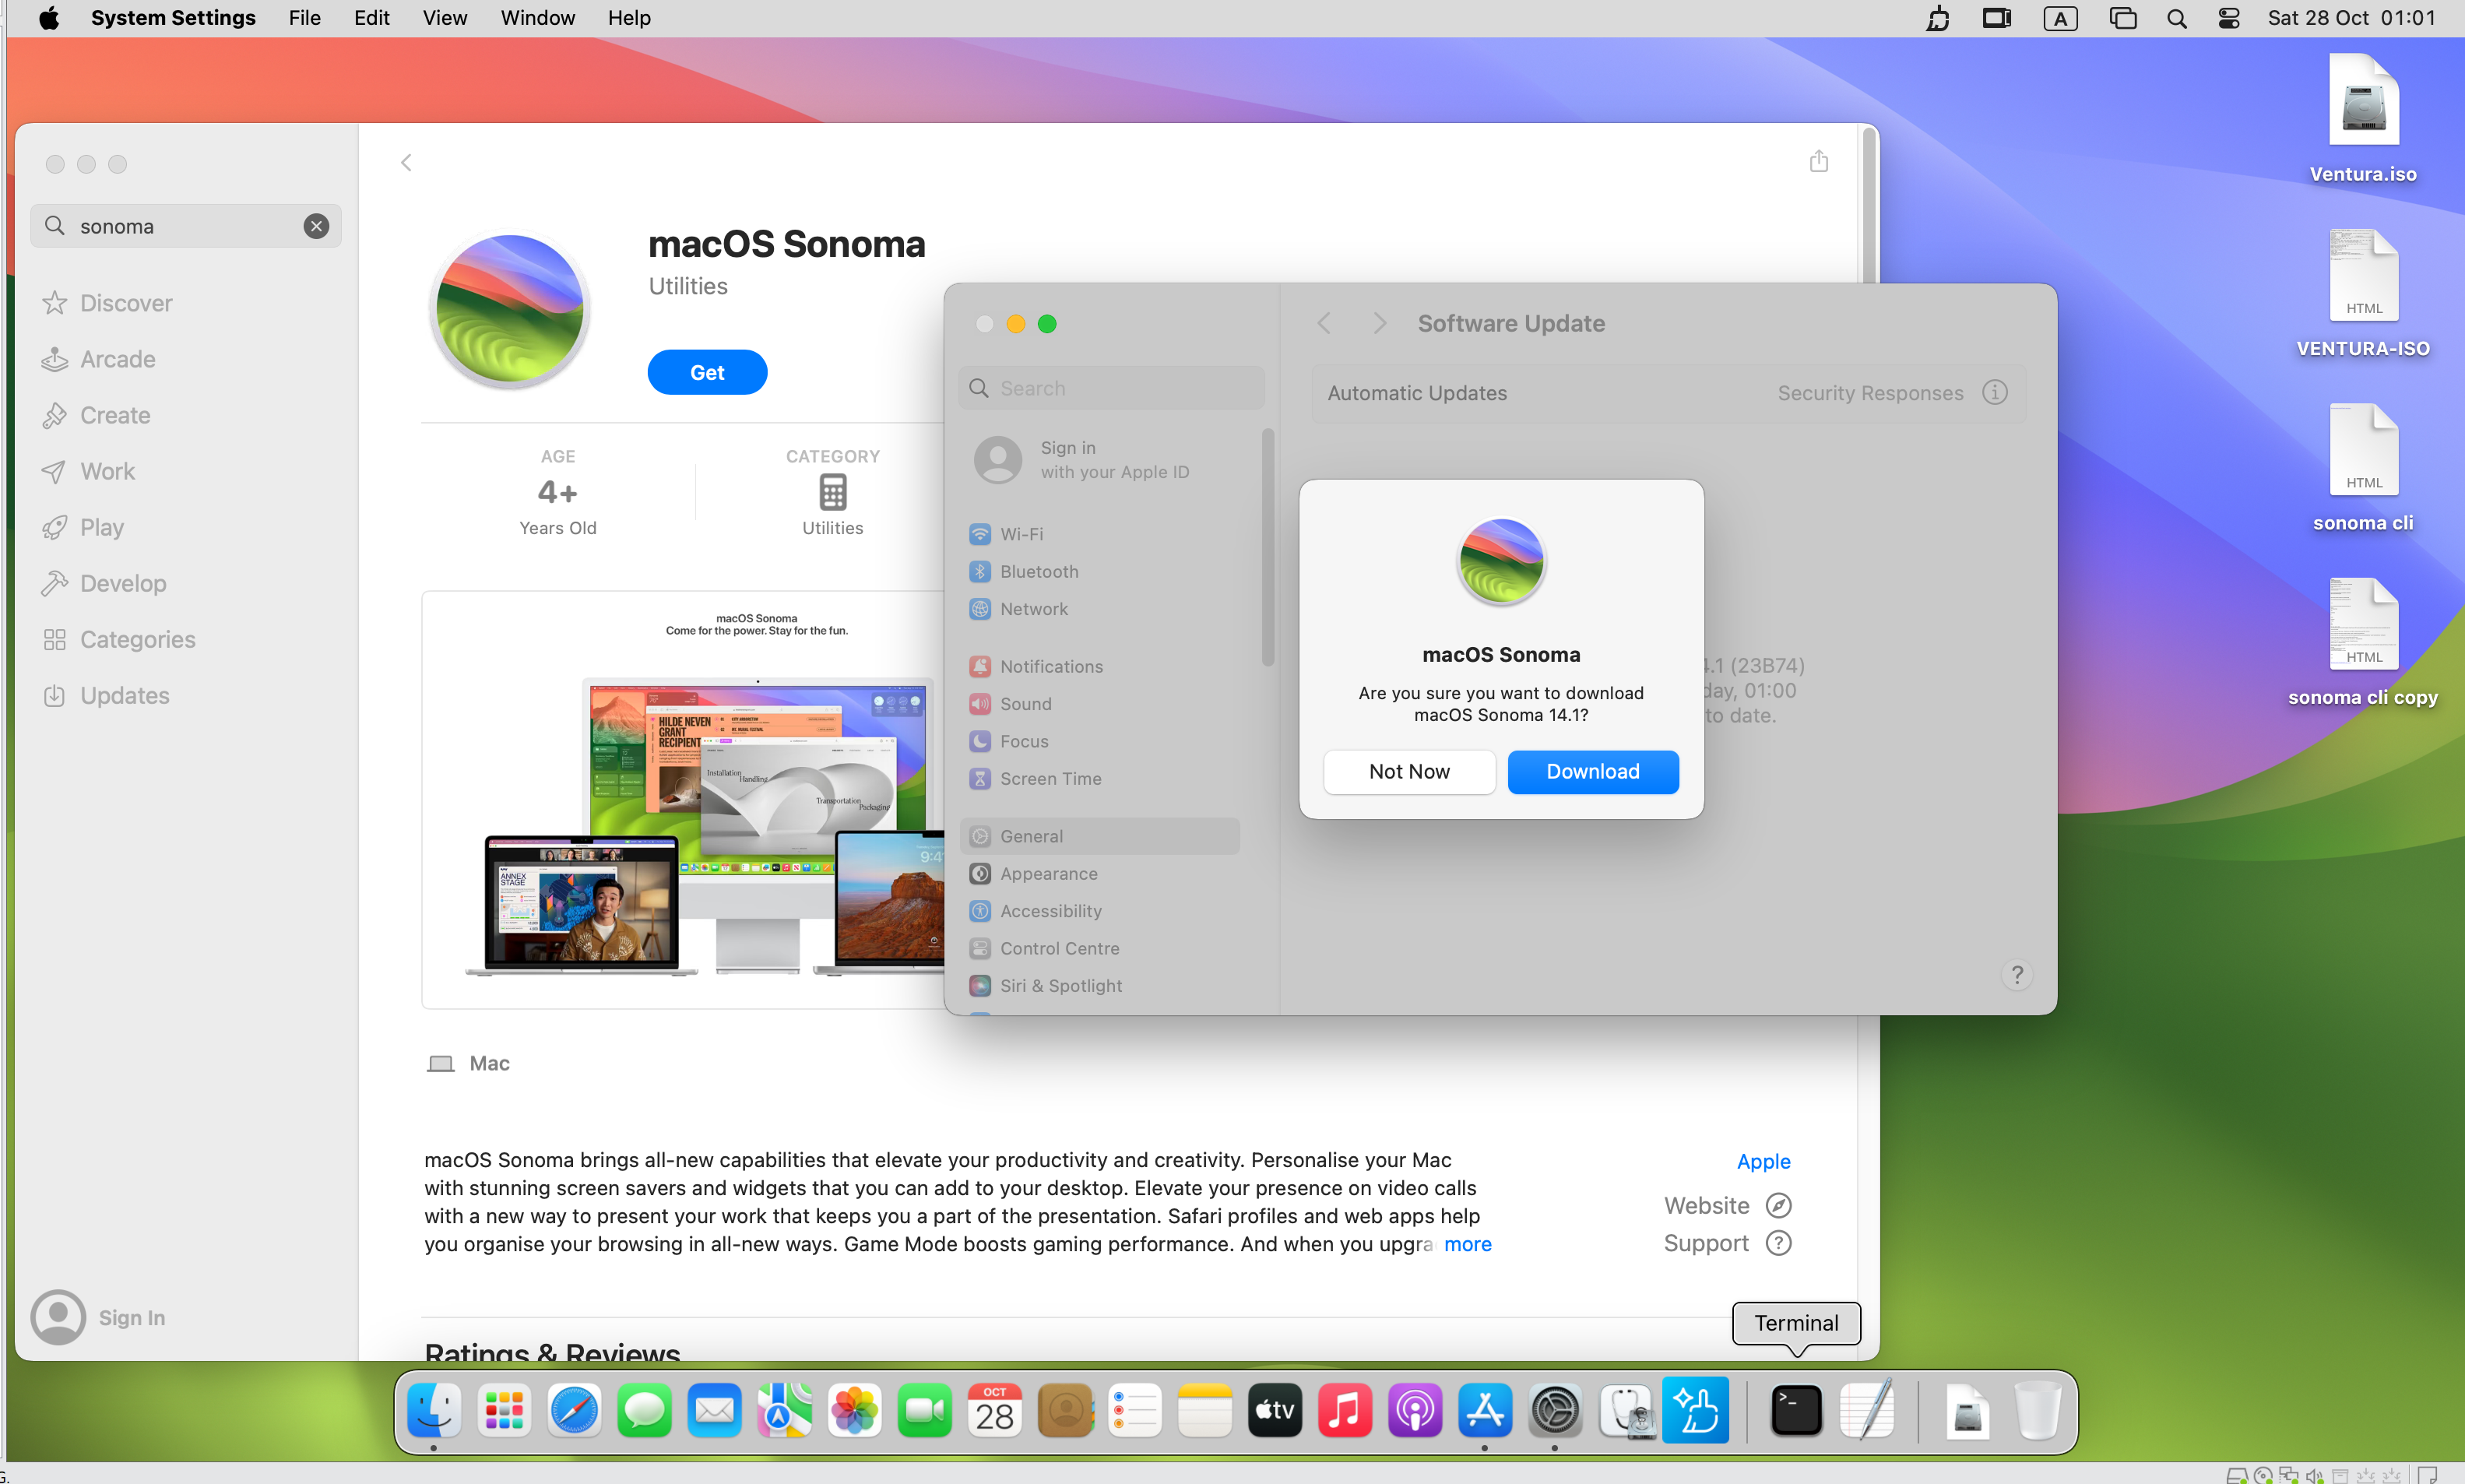
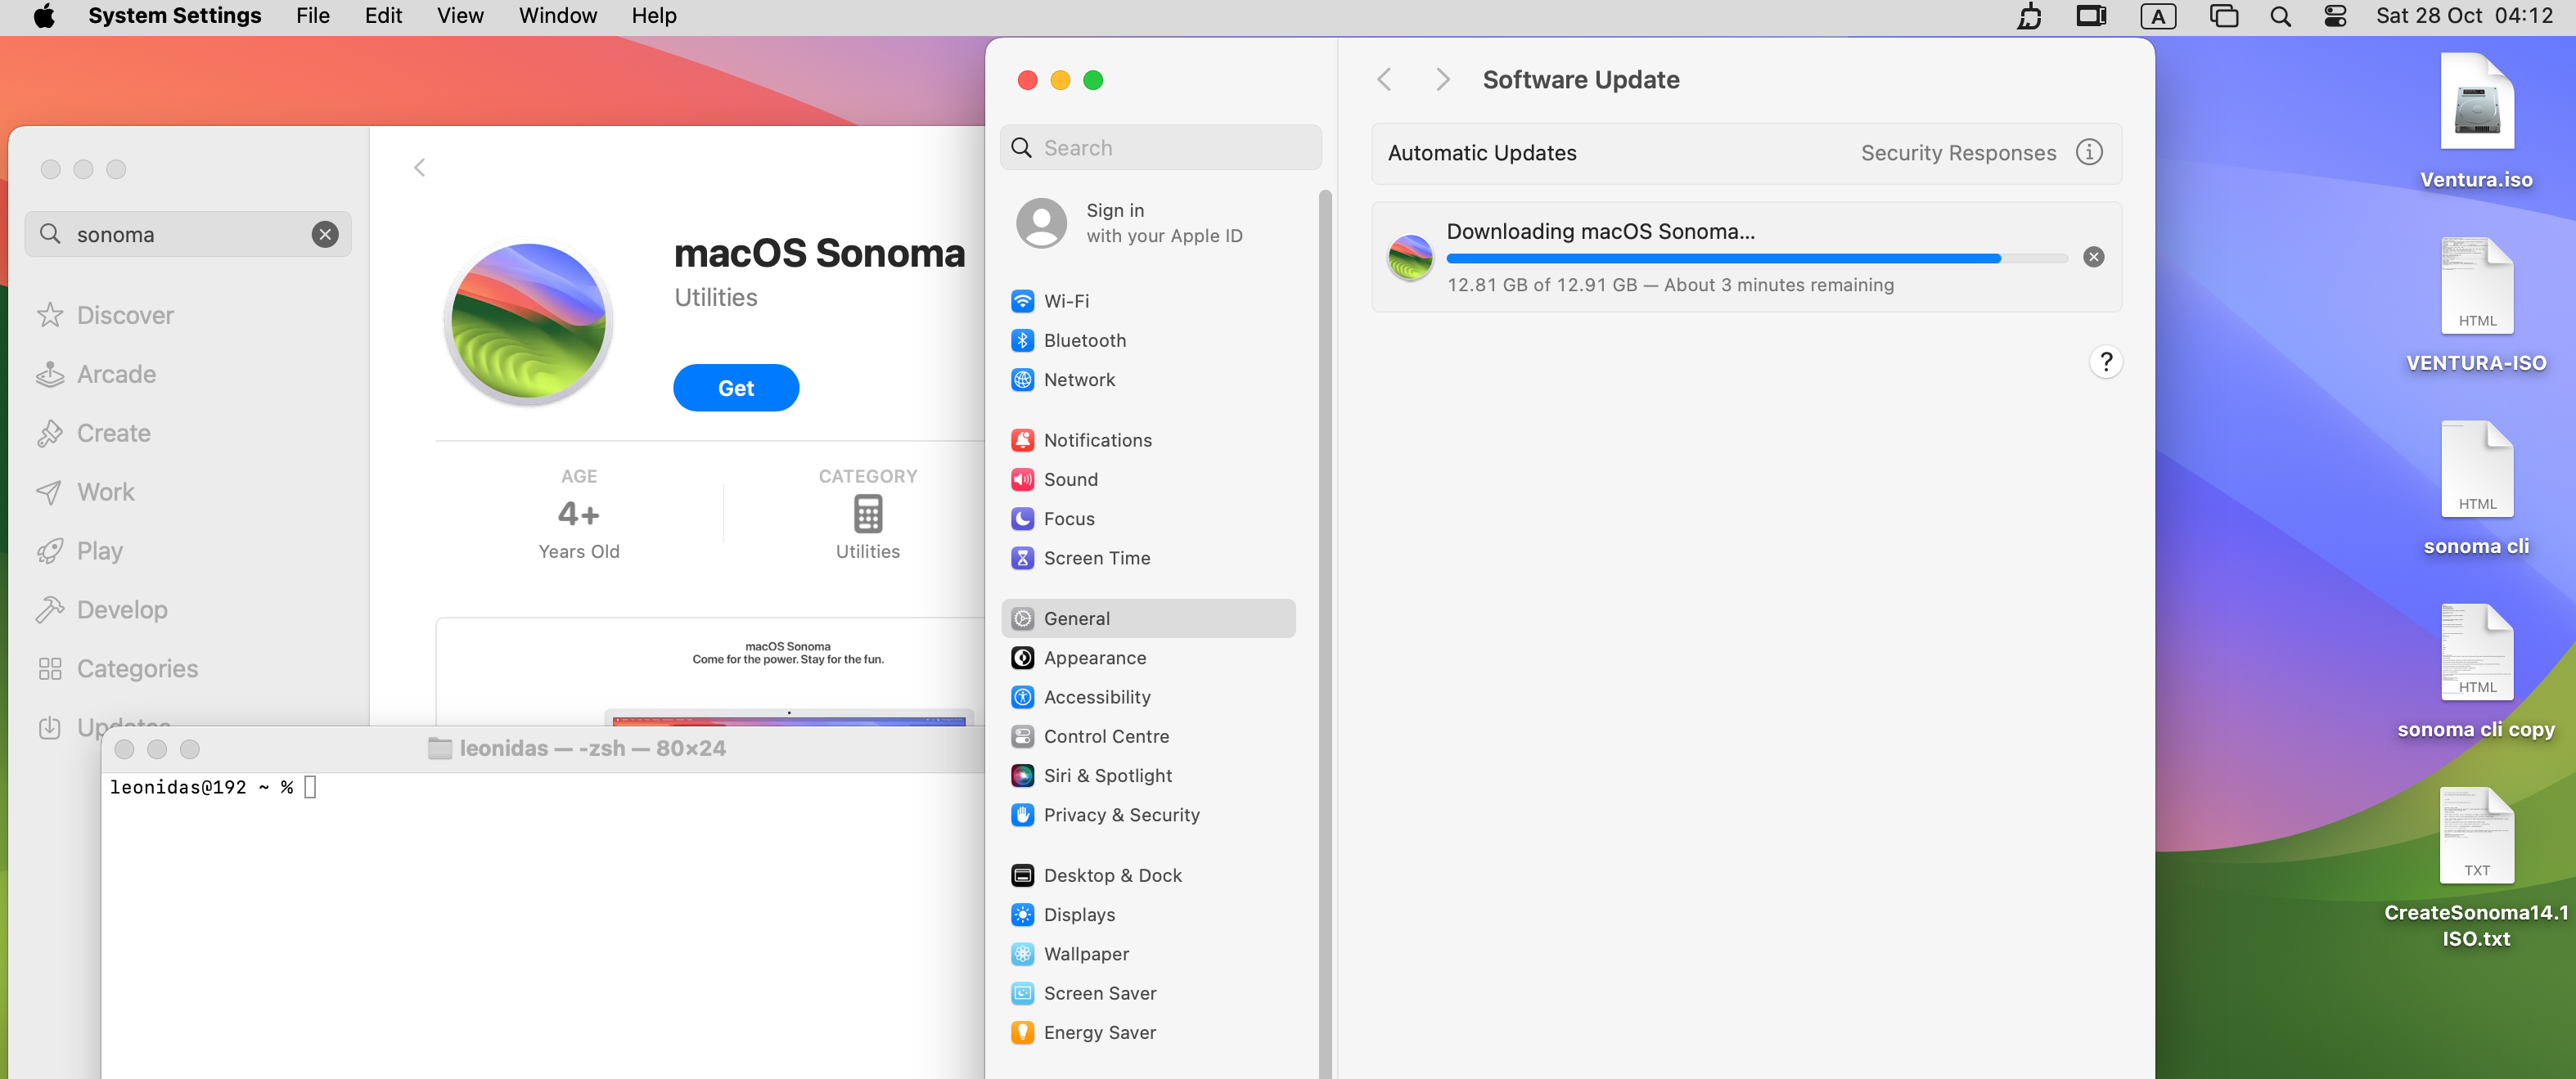
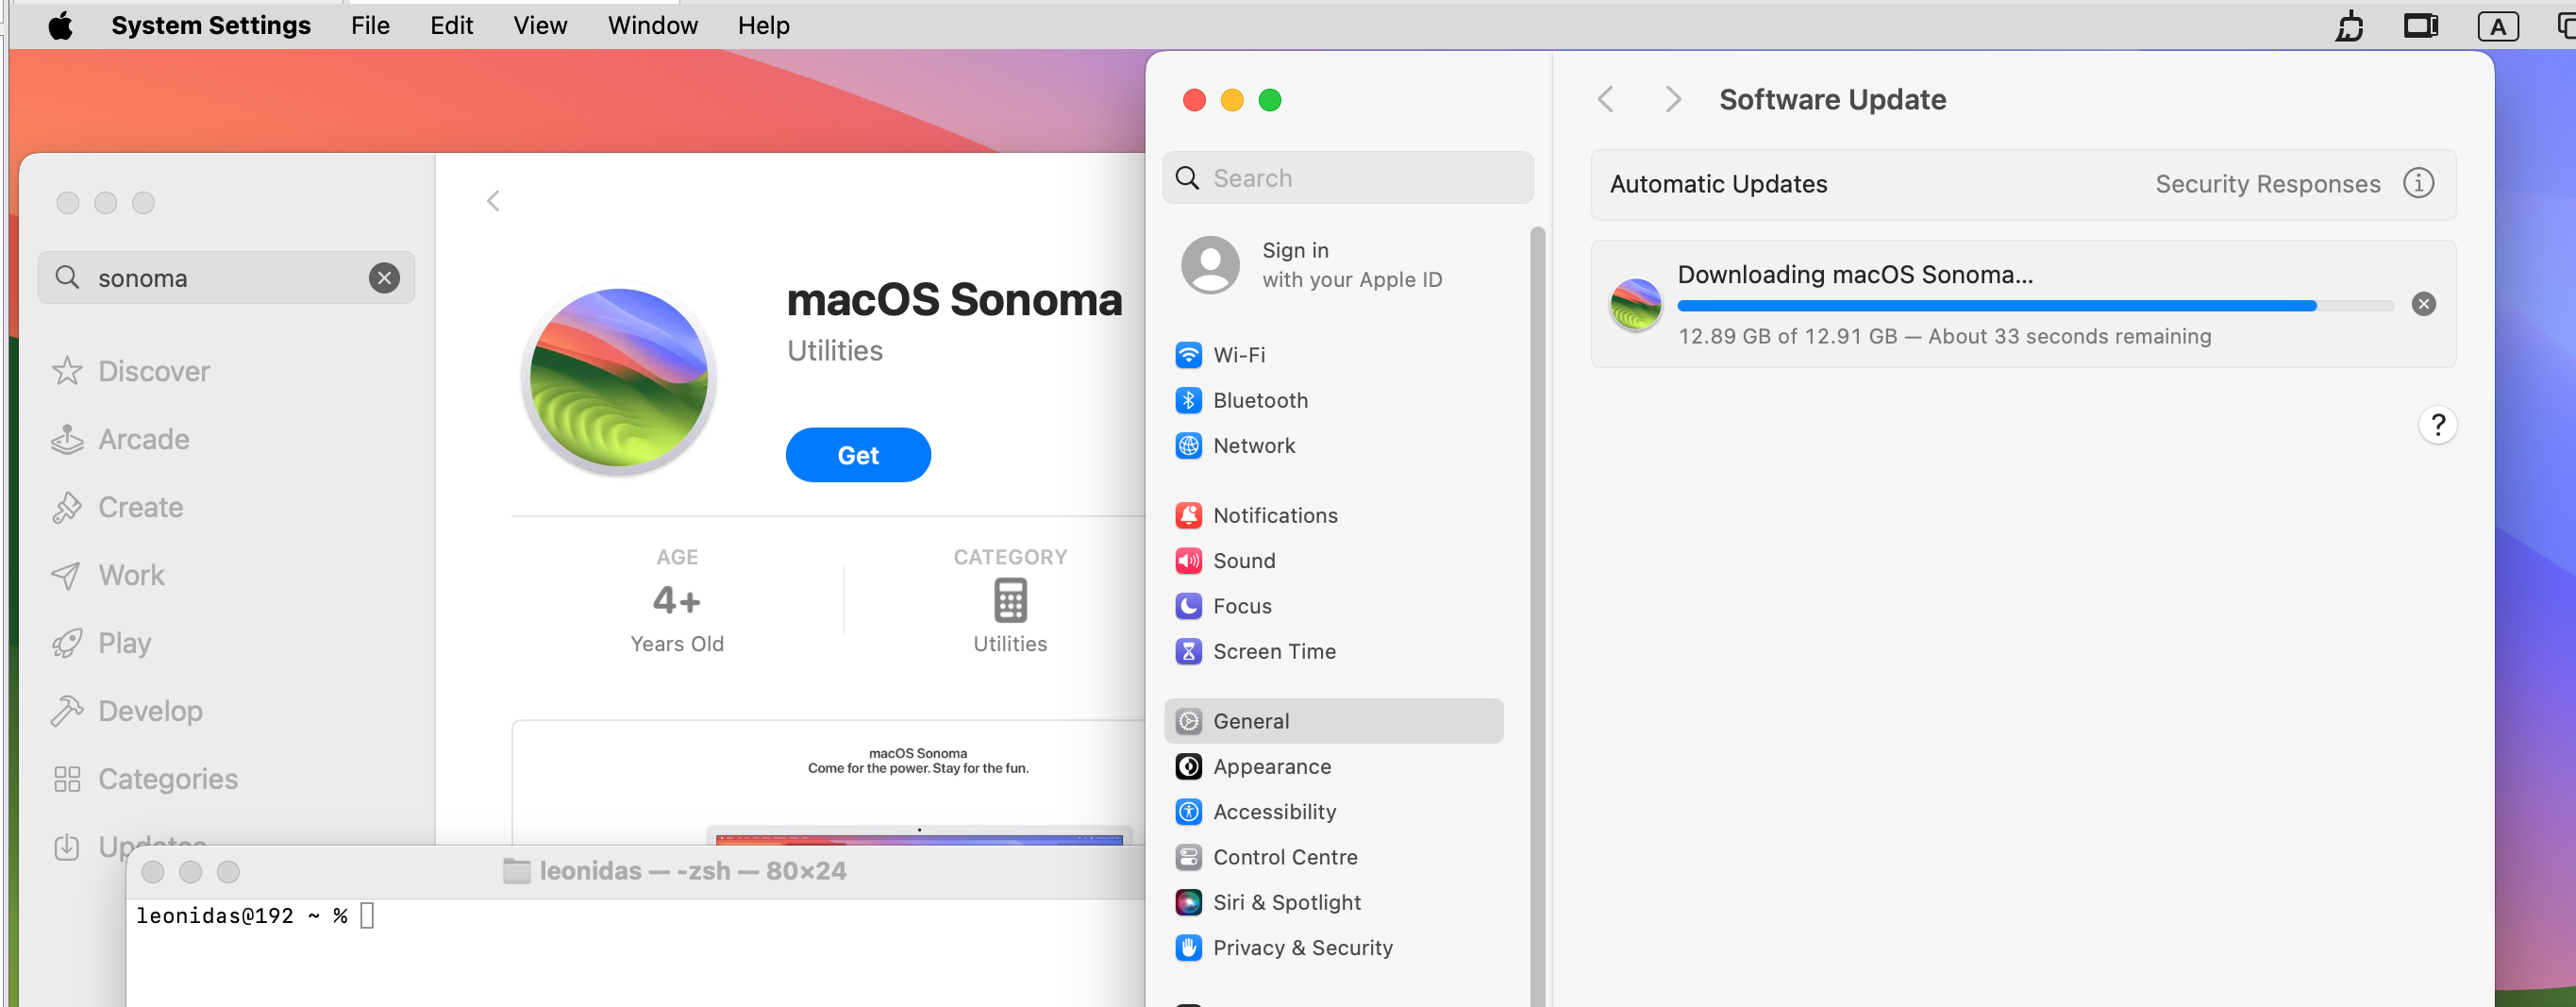
STEP-1: Download Sonoma Installer from the Apple Mac App Store


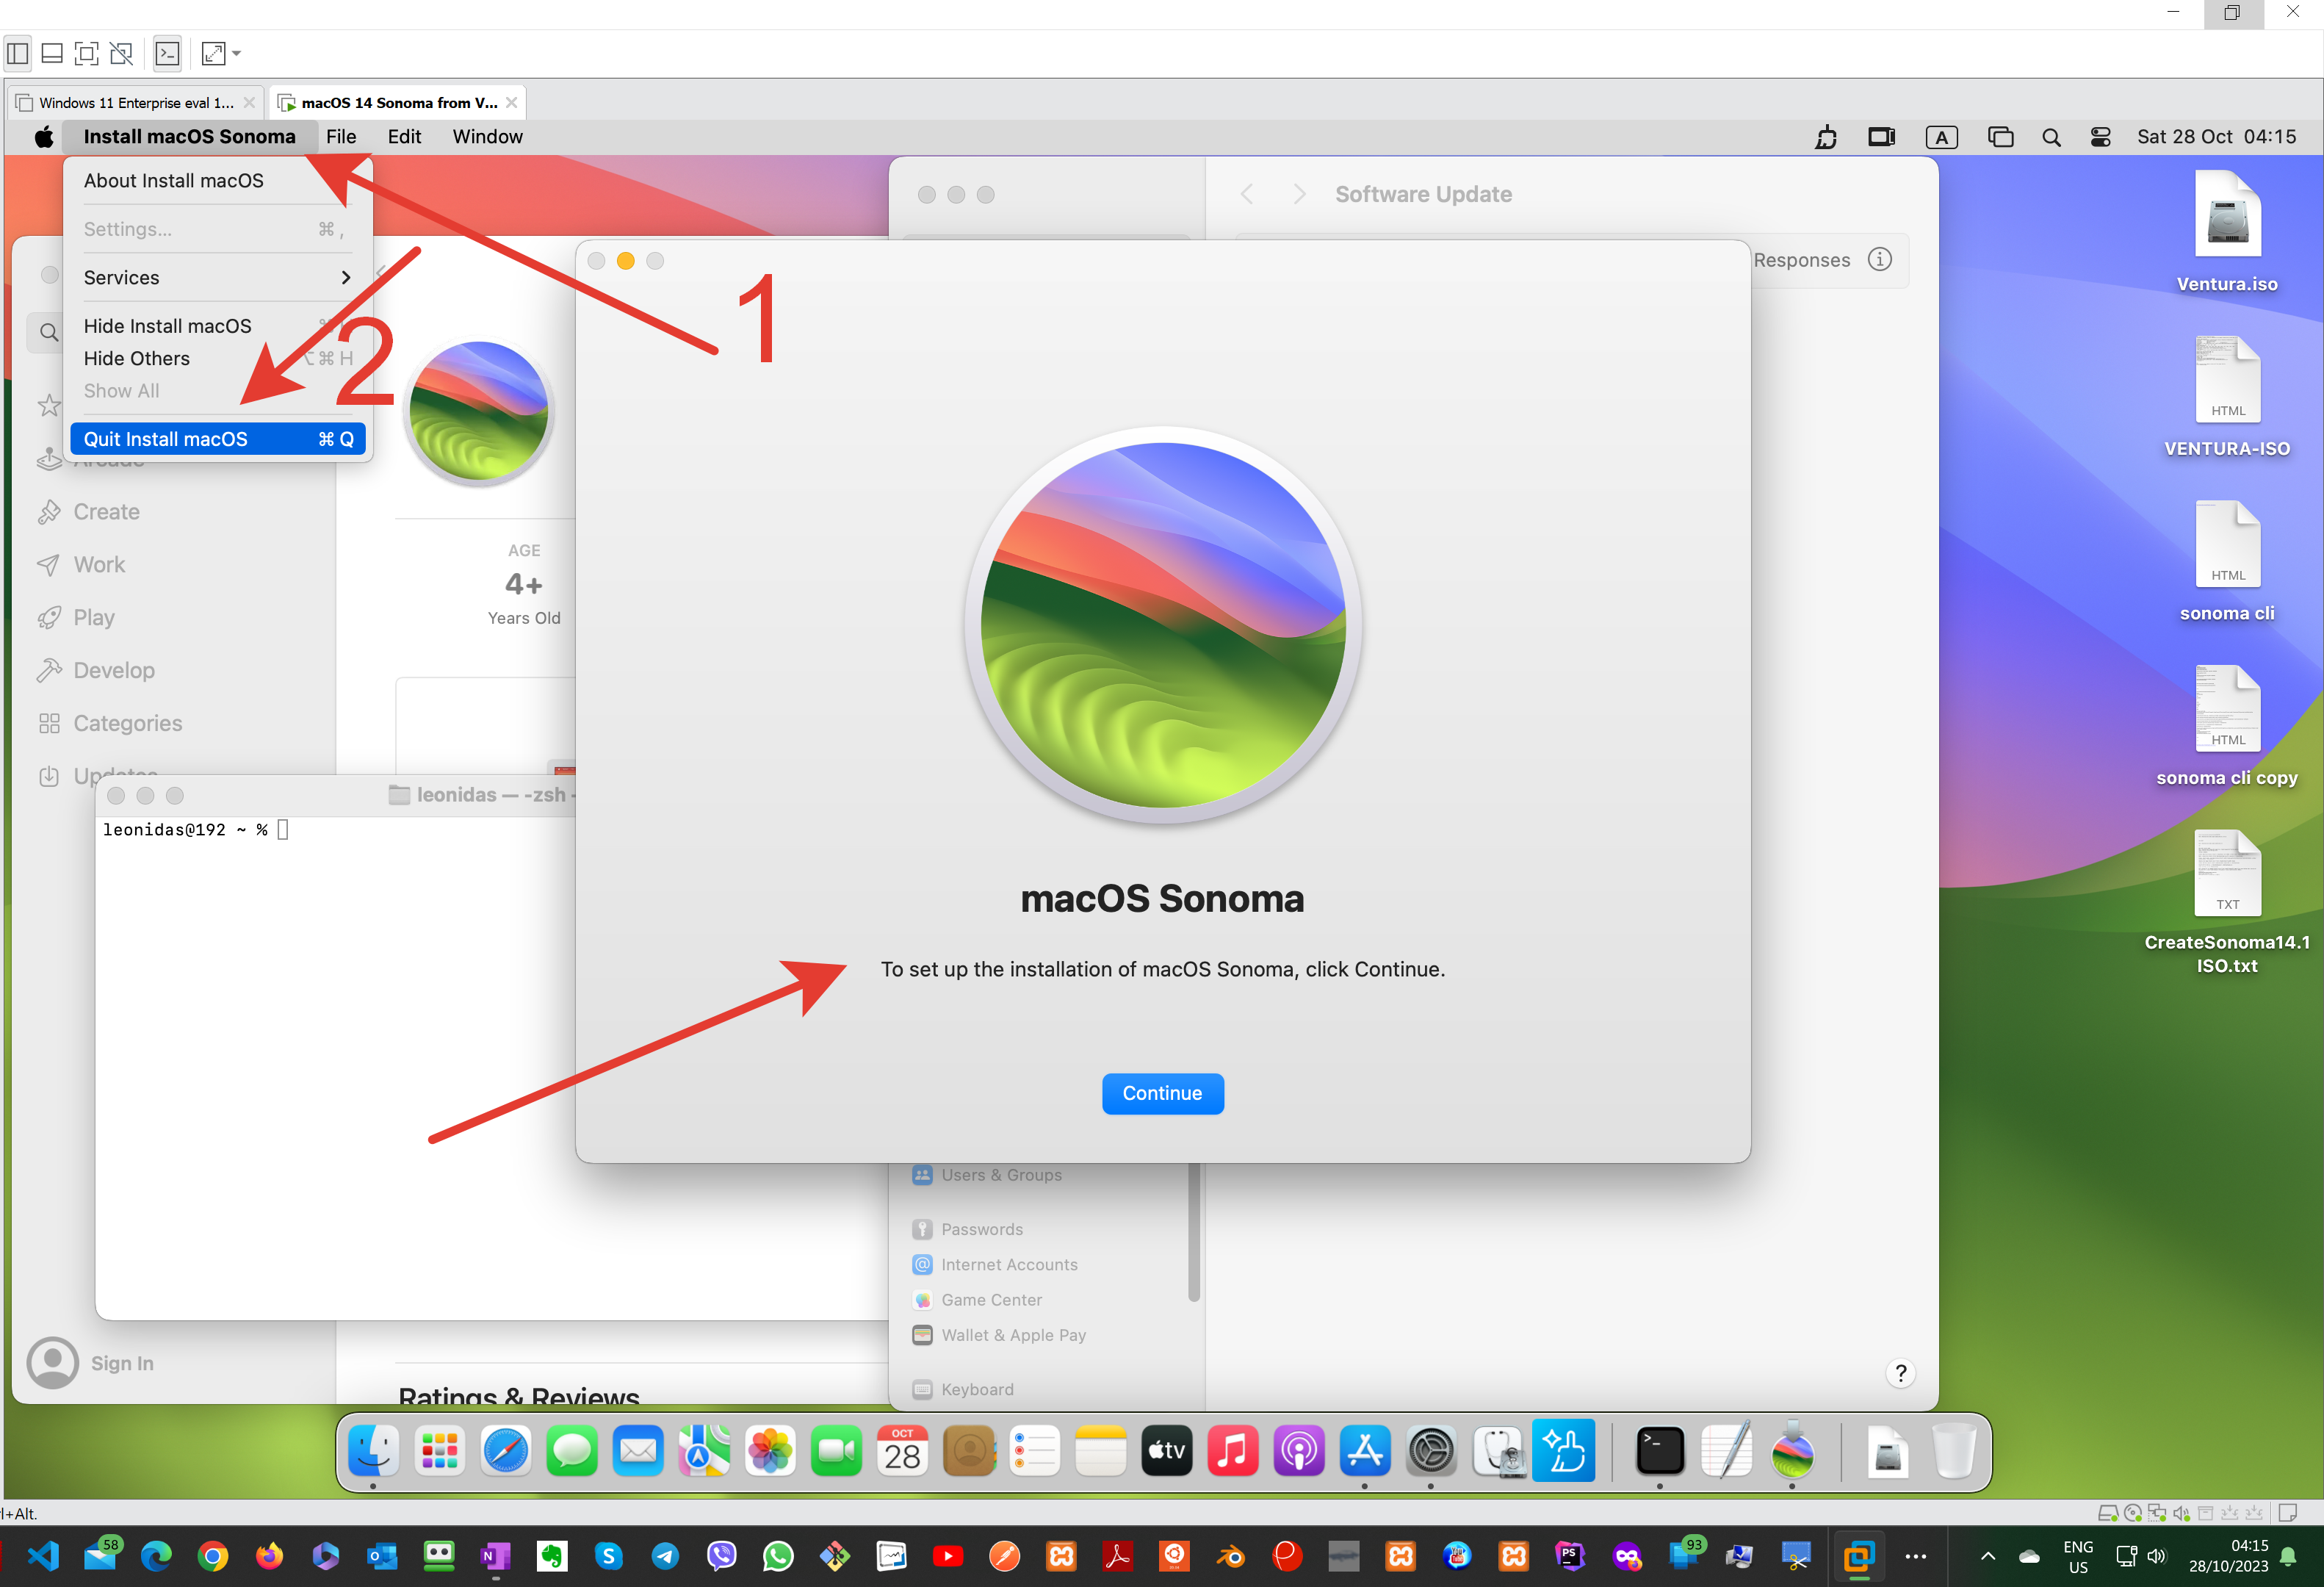
STEP-2: Choose Quit Install MacOS

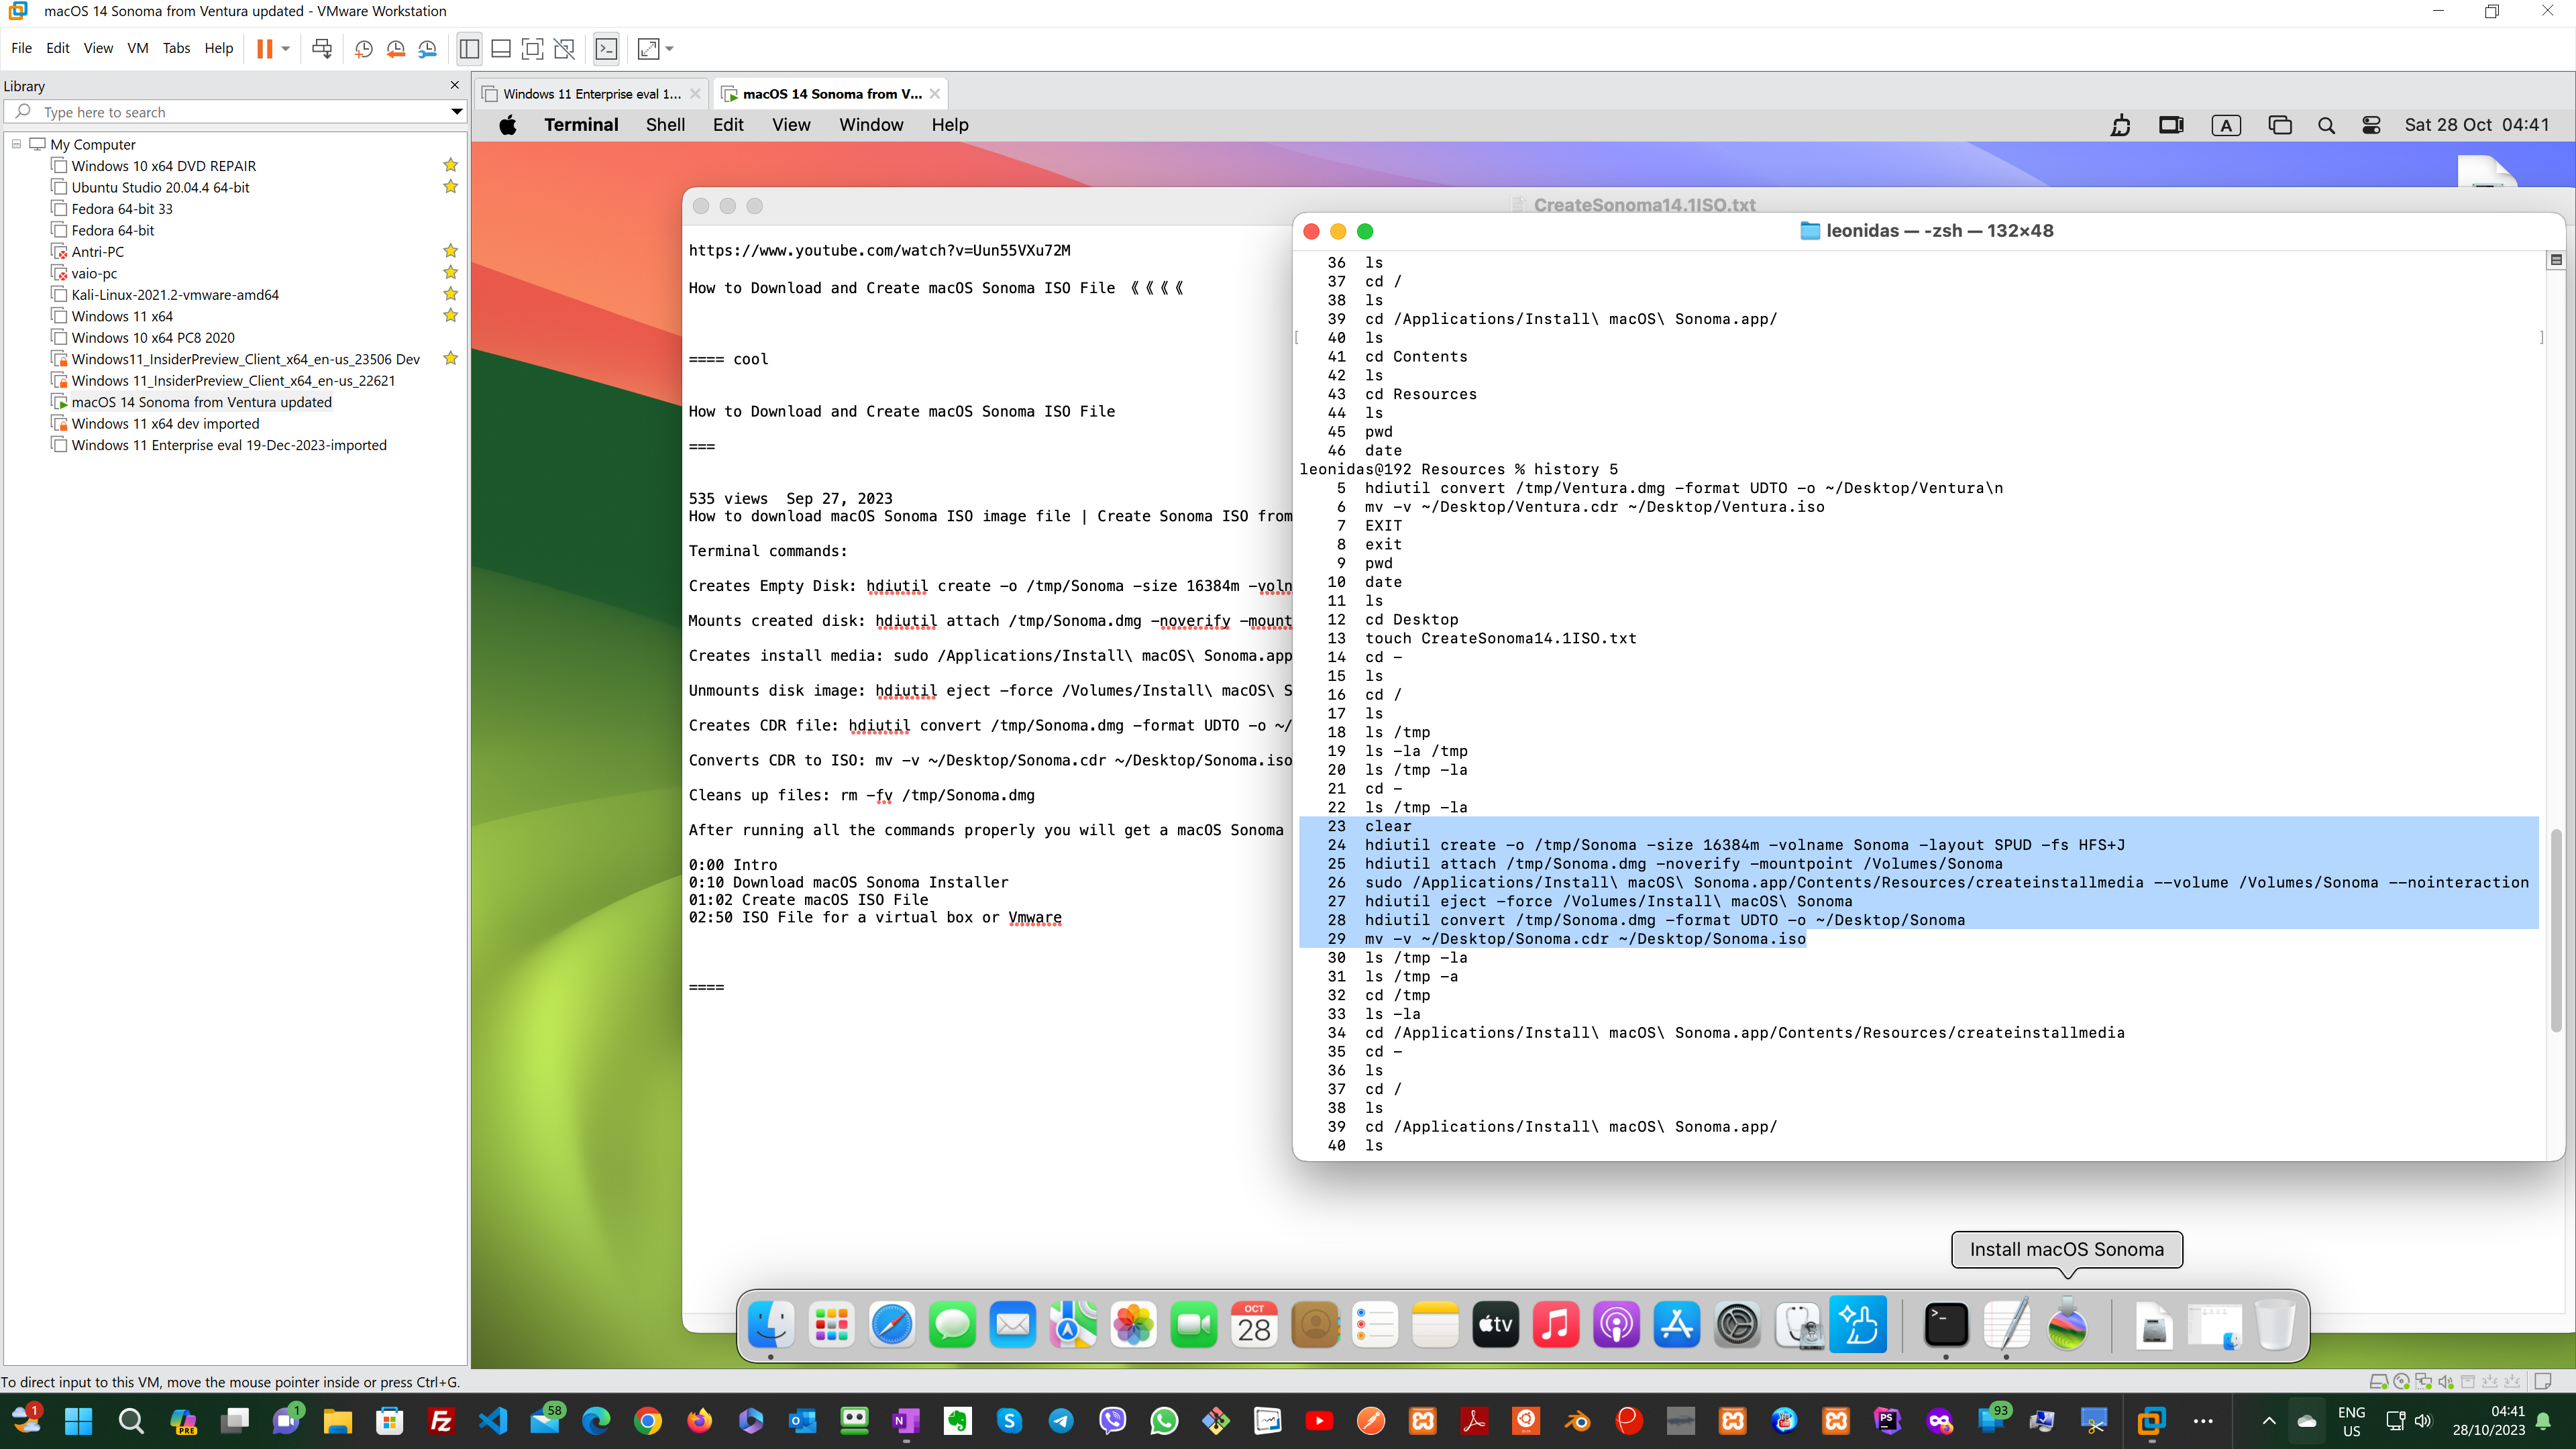
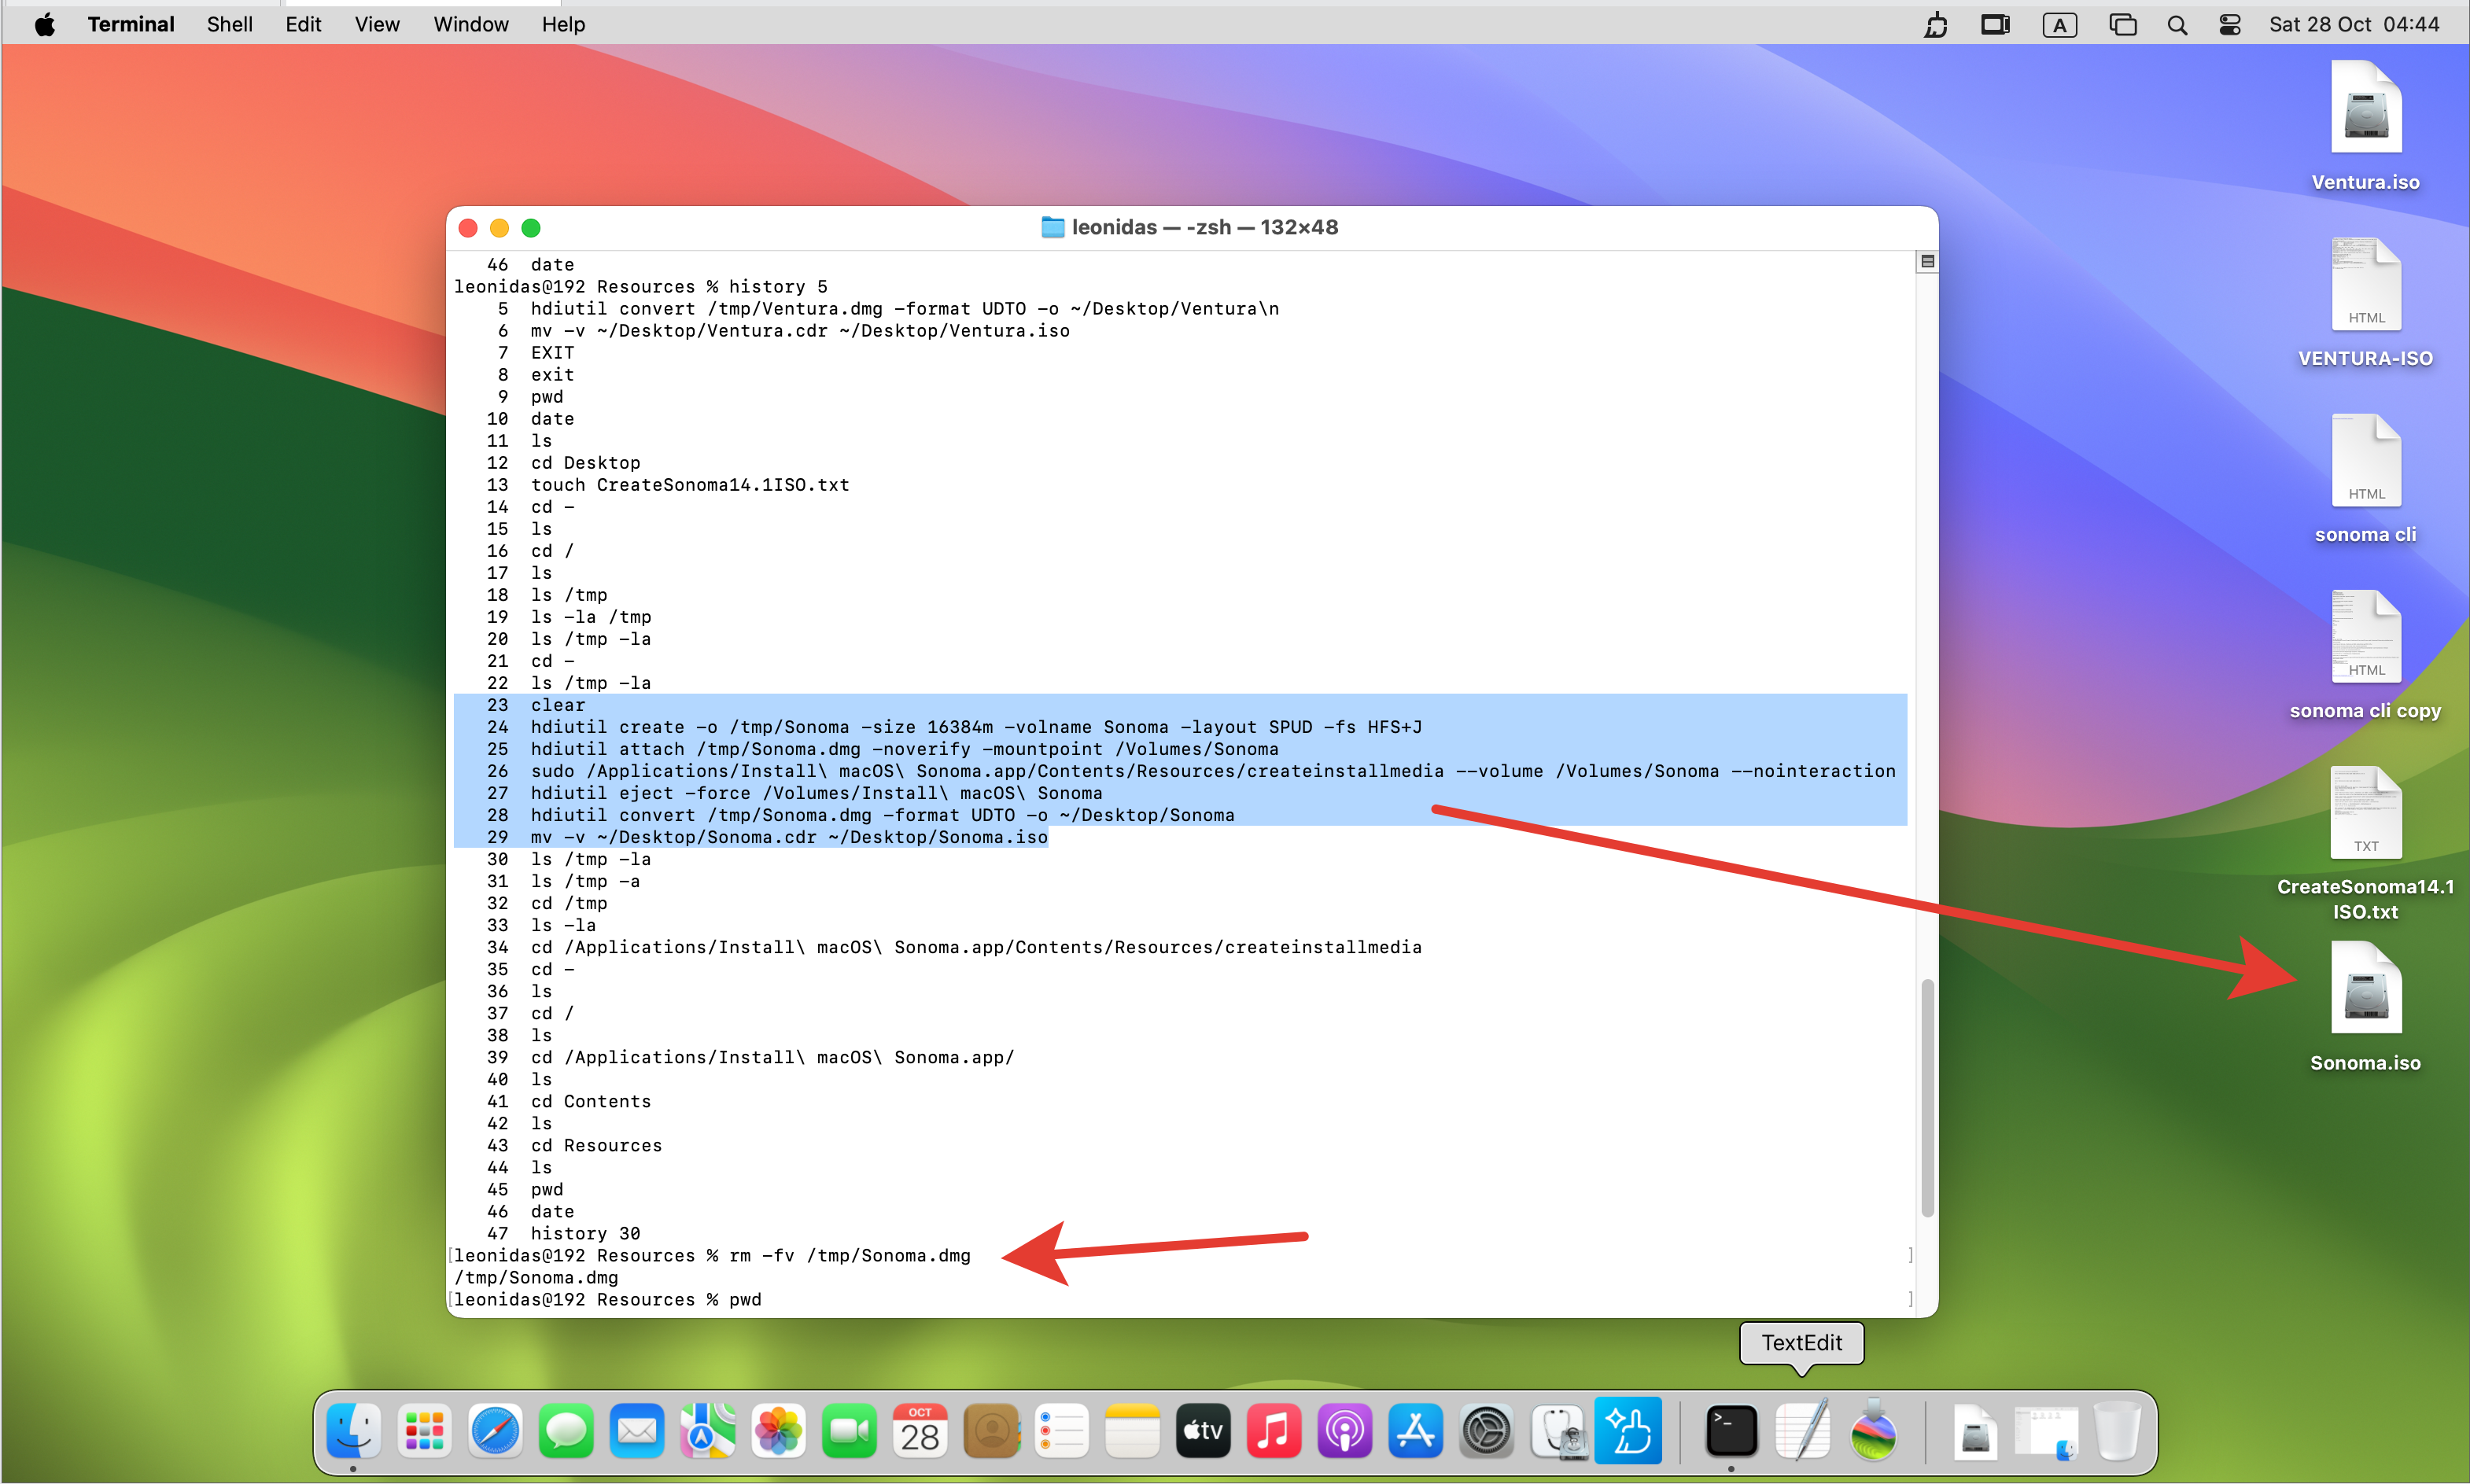
STEP-3: After this the last session is to give some commands from the CLI/Terminal – [see the end of this blog post for the commands]:
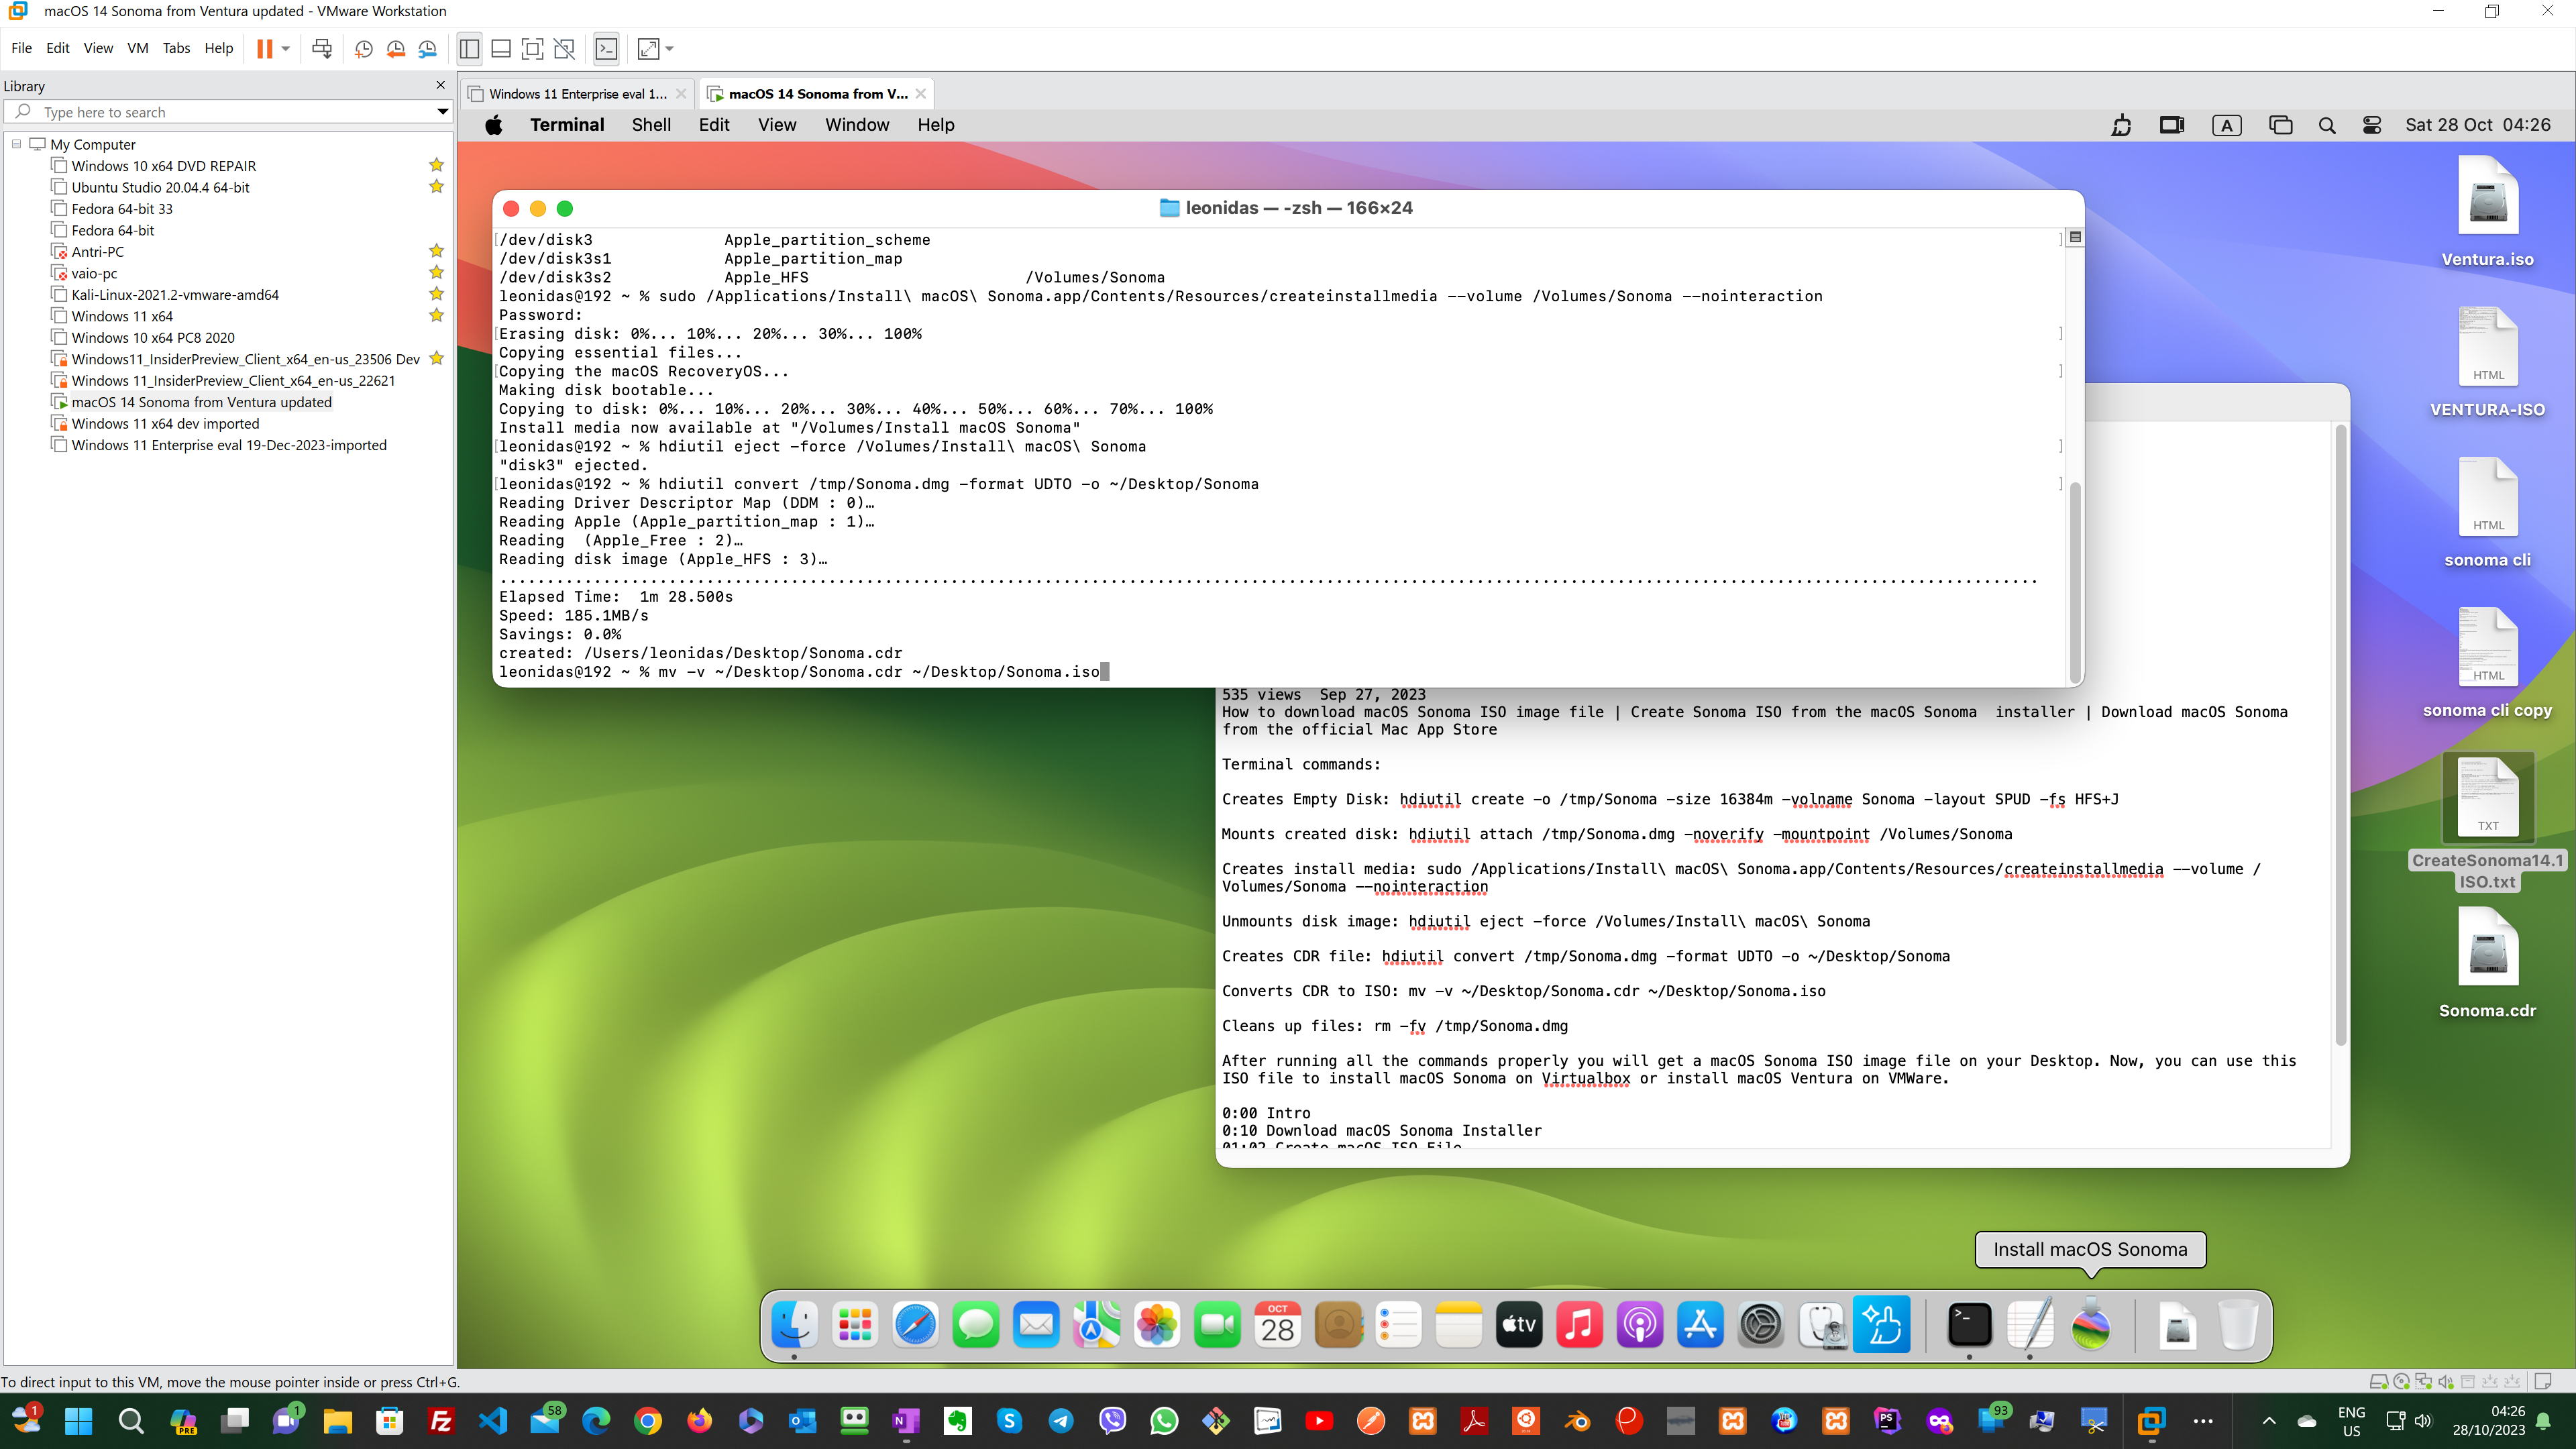
STEP-4: COPY outside the VM
The Sonoma.iso should be in your Desktop of the VM MacOs Sonoma.
You can copy the ISO file to an external USB Stick Storage device:

Sonoma 14.1.iso vs Ventura 13.x.iso:
Code Download for Section 3:
Terminal Commands to Download and Execute here (file.txt file).
If you want the ISO file ready to download – Please send an email to lse.limassol@gmail.com and I will send you the download link….
===